By Candice Walker on November 9, 2021 (Last updated October 30, 2025). This post may contain affiliate links. Read my disclosure policy.
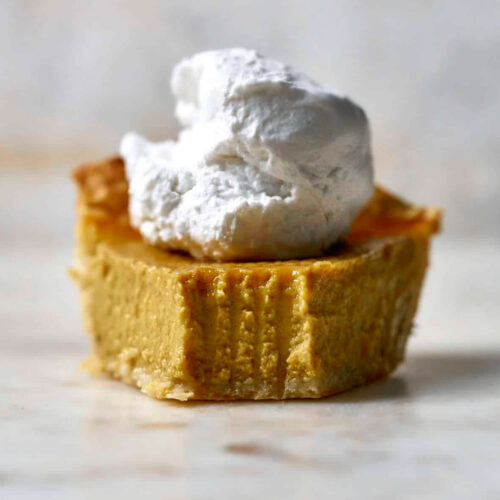
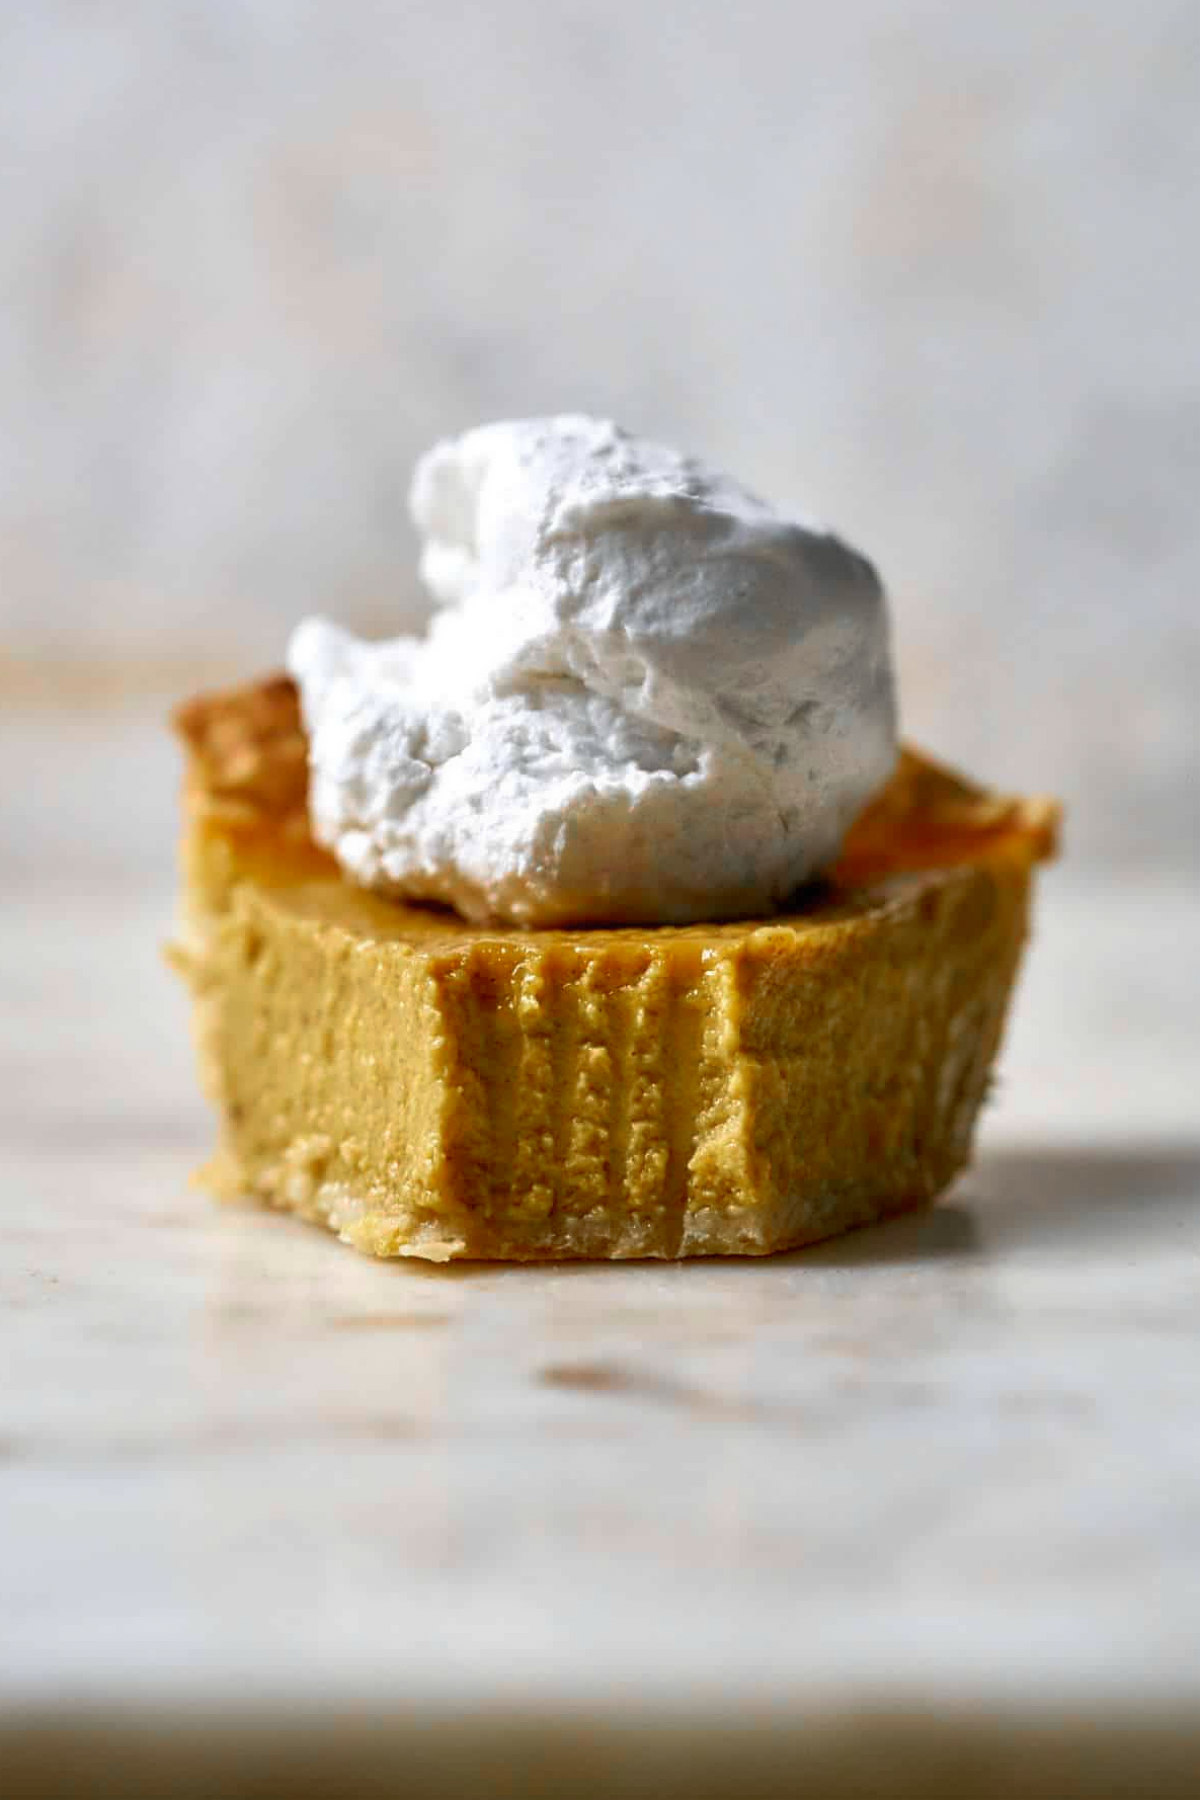
The best pumpkin pies start with homemade pumpkin pie filling made from scratch. This recipe will help you move away from fully store-bought pumpkin pies as it works great with any pre-made pie dough. Feel confident making your own pumpkin pie this year with this recipe. This filling has a smooth texture, a balanced sweetness, and is spiced to perfection!
Homemade pumpkin filling + ready-made pie dough = the perfect balance of easy and impressive. Any pie crust works great with this recipe. Pick one up at your grocery store, from a local bakery, or make your own. In this recipe, I’ll show you how to blind-bake it perfectly for the best results!
🌟Why You’ll Love This Recipe
Easy pie filling for beginners – This pumpkin pie filling recipe was designed and tested to help anyone make a perfect pie with a classic silky smooth custard-like texture. If you have extra pumpkin puree, make these mini pumpkin hand pies.
Amazing pie spice combination – The spice combination in this recipe is balanced and not too strong. It was thoroughly tested by several more-than-willing taste testers to achieve the right balance of flavors.
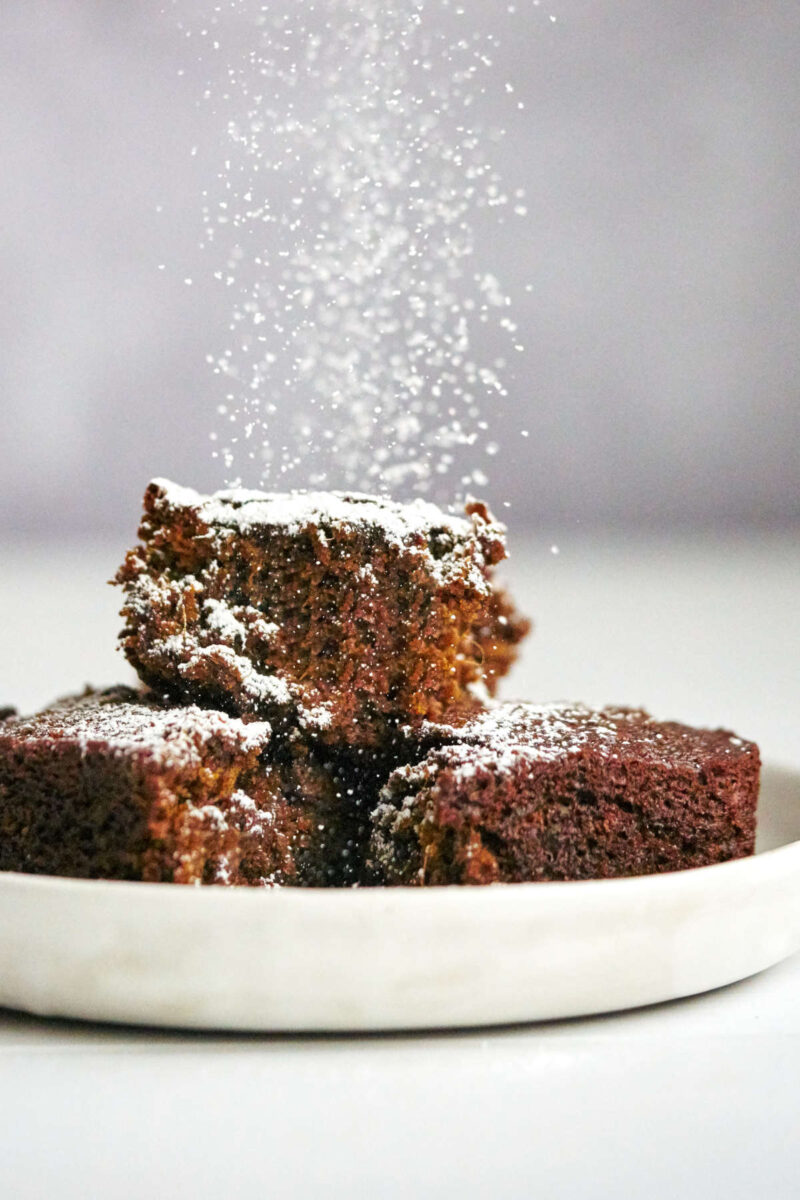
Three sweeteners for complex flavor – I use three different sweeteners to bring complex flavors. For example, brown sugar brings a unique caramel-molasses flavor. Another favorite recipe that uses multiple sugars for maximum flavor is this Fresh Ginger Root Cake.
Silky smooth texture – The sugars are added at different stages of the recipe, and these timings are key to achieving the classic smooth, custard-like texture of pumpkin pie filling. The solid white and brown sugars are heated and added to the pumpkin puree, while the liquid maple syrup is added at the end.
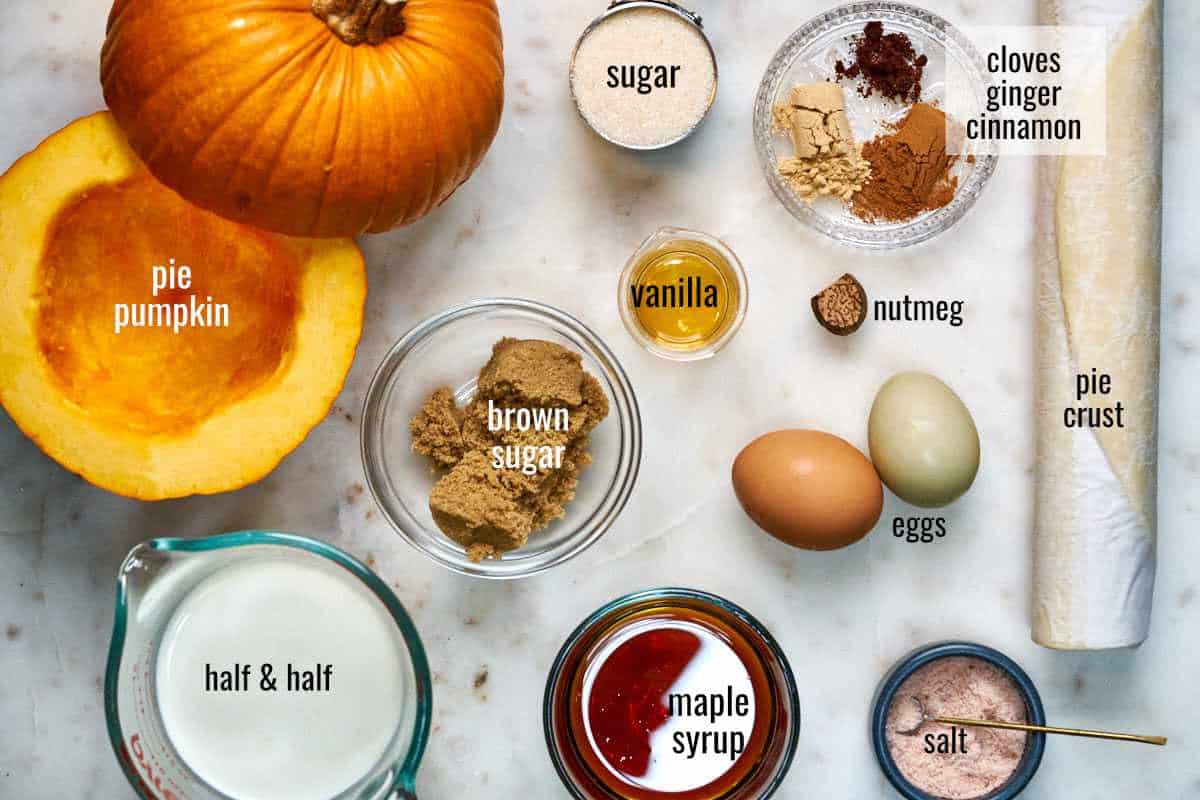
🧾Ingredients in This Recipe
Pie pumpkin – Pie pumpkins (also known as sugar pie pumpkins) are sweeter and have a richer flavor than a carving pumpkin. It makes more fresh and flavorful pumpkin puree than buying canned pumpkin puree does work in this recipe. If you want to make a substitution, use one 15-ounce can of pumpkin puree.
Pre-made pie crust – Use any pie crust you like, and you’ll find them in the freezer aisle. I recommend using the rolled frozen or refrigerated pie crust, thawed overnight in the refrigerator. I avoid the crusts that are already baked/formed in a pie dish, but they do work.
Eggs – These create the custard texture of the pumpkin filling.
Half-and-half – Half-and-half is what I have found to work best in this recipe. You can use half cream and half whole milk.
Brown sugar – Use either light or dark brown sugar. This adds a wonderful caramel flavor in the pie filling.
White sugar – Use granulated or cane sugar.
Pumpkin pie spices – I use a combination of cloves, ginger, cinnamon, and nutmeg. I find it’s best to make your own blend rather than opt for pumpkin pie spice.
Maple syrup – The flavor of 100% maple syrup as an additional sweetener makes all the difference in this recipe. Please do not substitute with other sweeteners.
Vanilla extract – Use a high-quality vanilla extract when baking.
Salt – fine grain sea salt, a great balance to the sweeteners and even an enhancer!
See the recipe card for full information on ingredients and quantities.
🌟 Pro Tip
Did you know you can ask your local bakery to buy some of their pie crust dough? Buying pre-made pie crusts from local bakeries is a great way to support them and take a tasty shortcut to the perfect pumpkin pie filling.
🥣 From-Scratch Pumpkin Pie Spice
The perfect pumpkin pie spice blend for this recipe is made as follows: 4 parts ginger, 4 parts cinnamon, 1 part cloves, and 1 part nutmeg. In a pinch, you can use 2.5 teaspoons of pumpkin pie spice in this recipe.
Store pre-made pumpkin pie spice in a sealed jar in a dark, dry area.
👩🍳 How to Make This Recipe
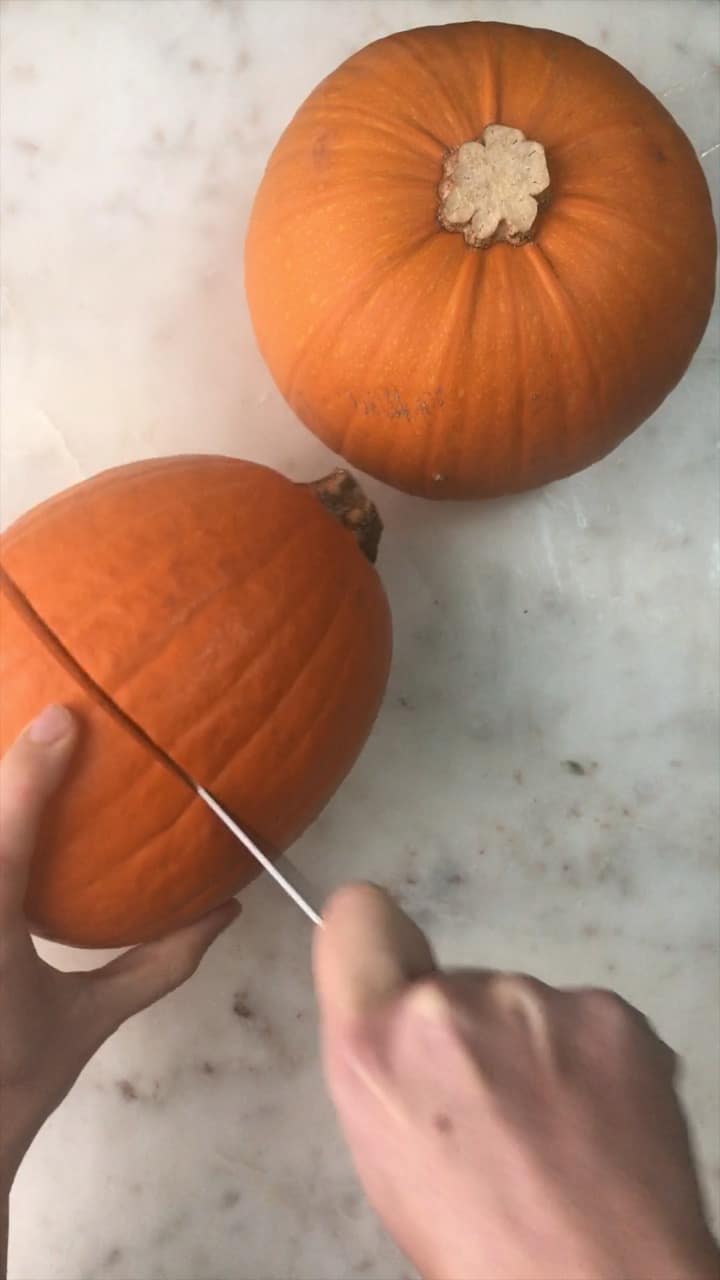
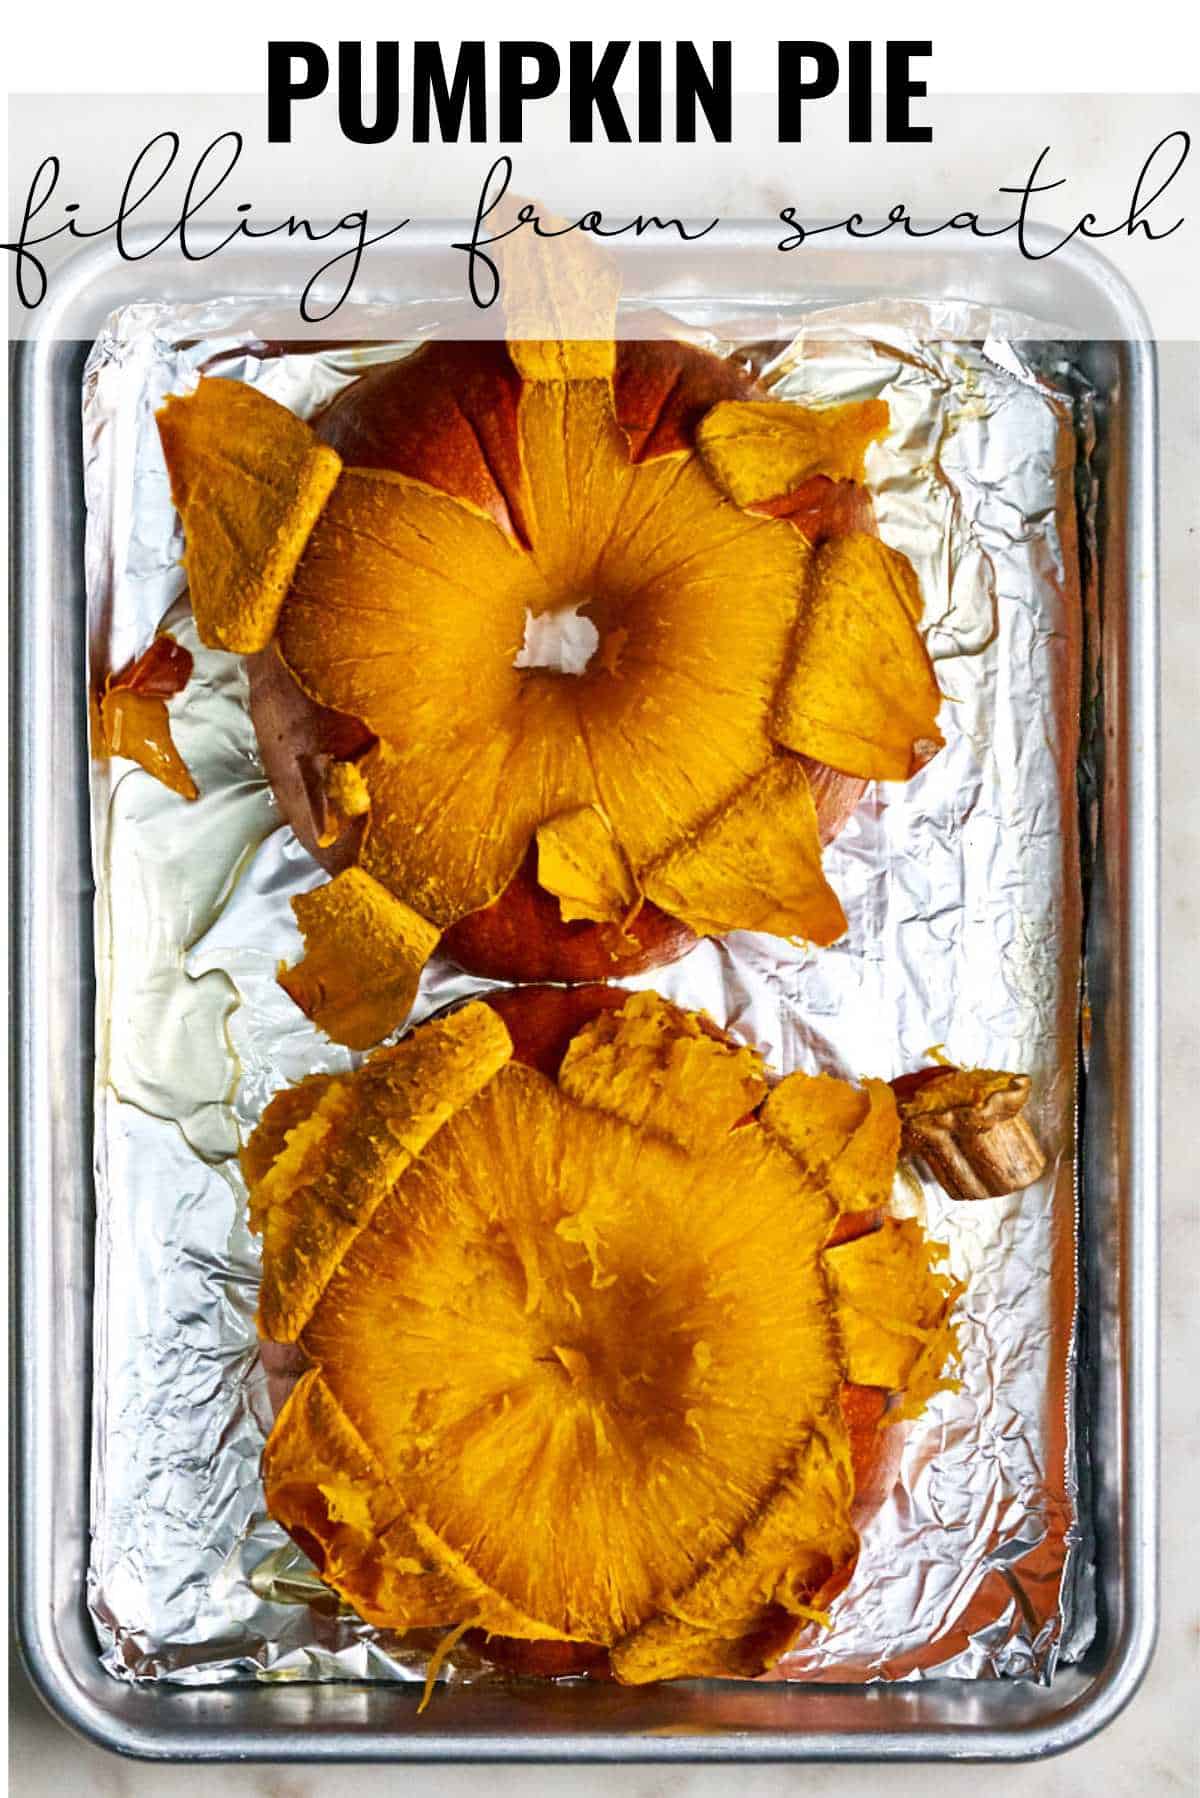
Preheat your oven to 350°F with the rack placed in the lower half of the oven. While it heats, cut the pie pumpkin in half lengthwise, then scoop out all of the seeds. Place the cut side down on a baking sheet as shown. Bake it for 1 hour.
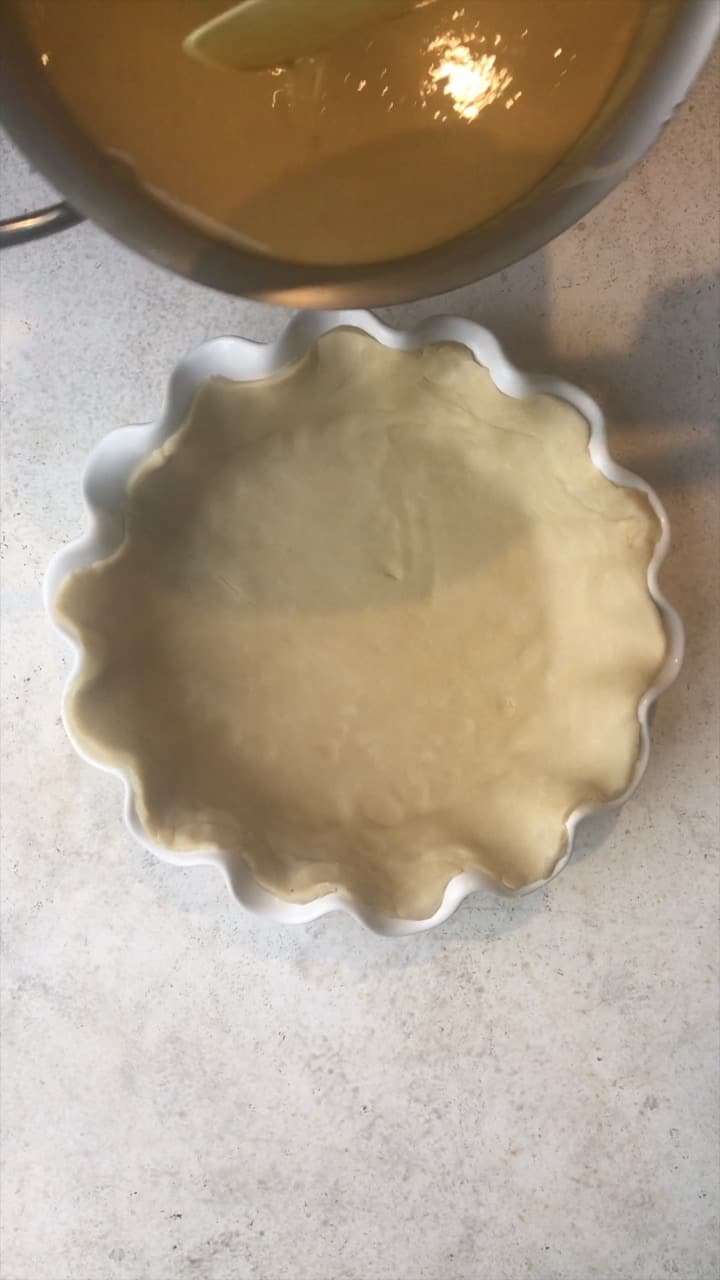
While the pie pumpkin is baking, prepare your pie dish with your pie crust. Refrigerate it for at least 30 minutes, or until step 4.
🌟 Pumpkin puree in advance
You can keep the cooked pumpkin puree in a sealed container in the refrigerator for up to 3 days. You can also freeze it and defrost it overnight in your refrigerator.
Once the pie pumpkin is baked, let them cool enough so you can touch it, and remove all the skin.
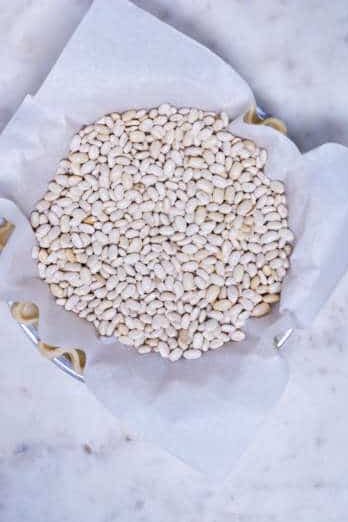
Blind bake the crust by covering it with parchment paper and weighing it down with dry beans, pie weights, or small dried pasta noodles. Bake the pie crust for 10-12 minutes.
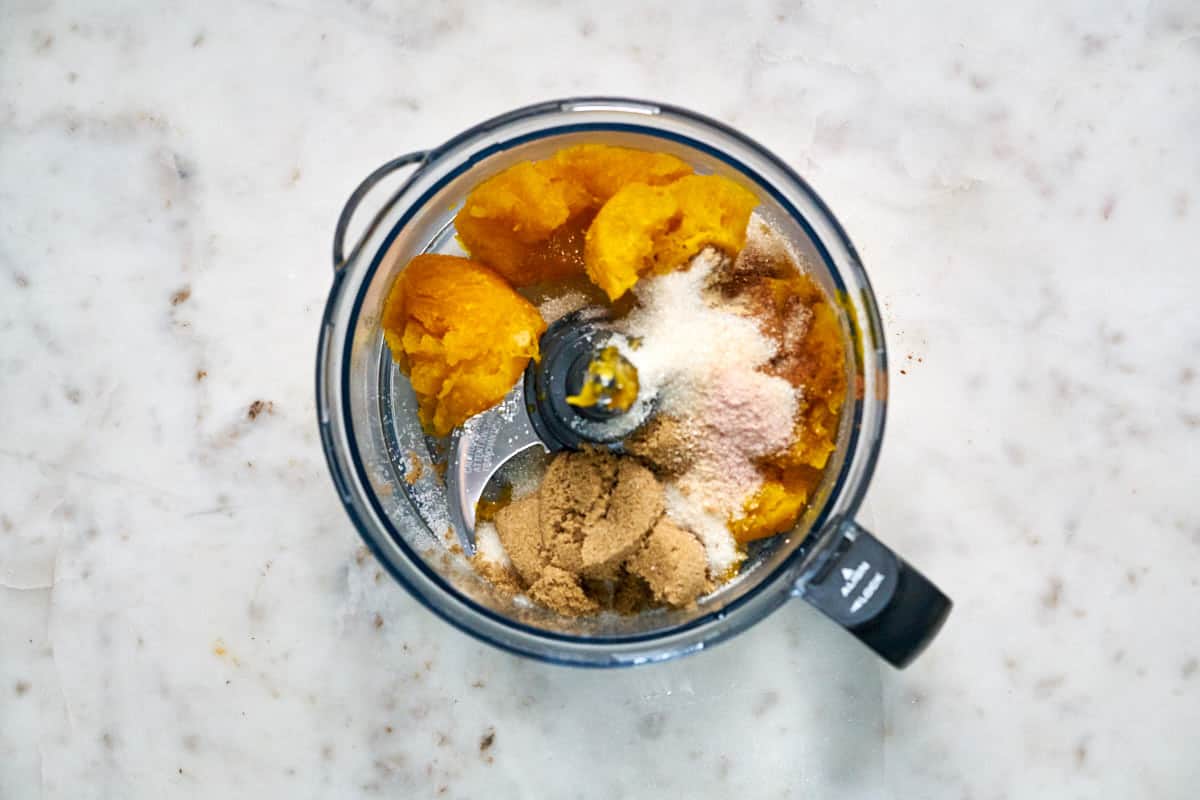
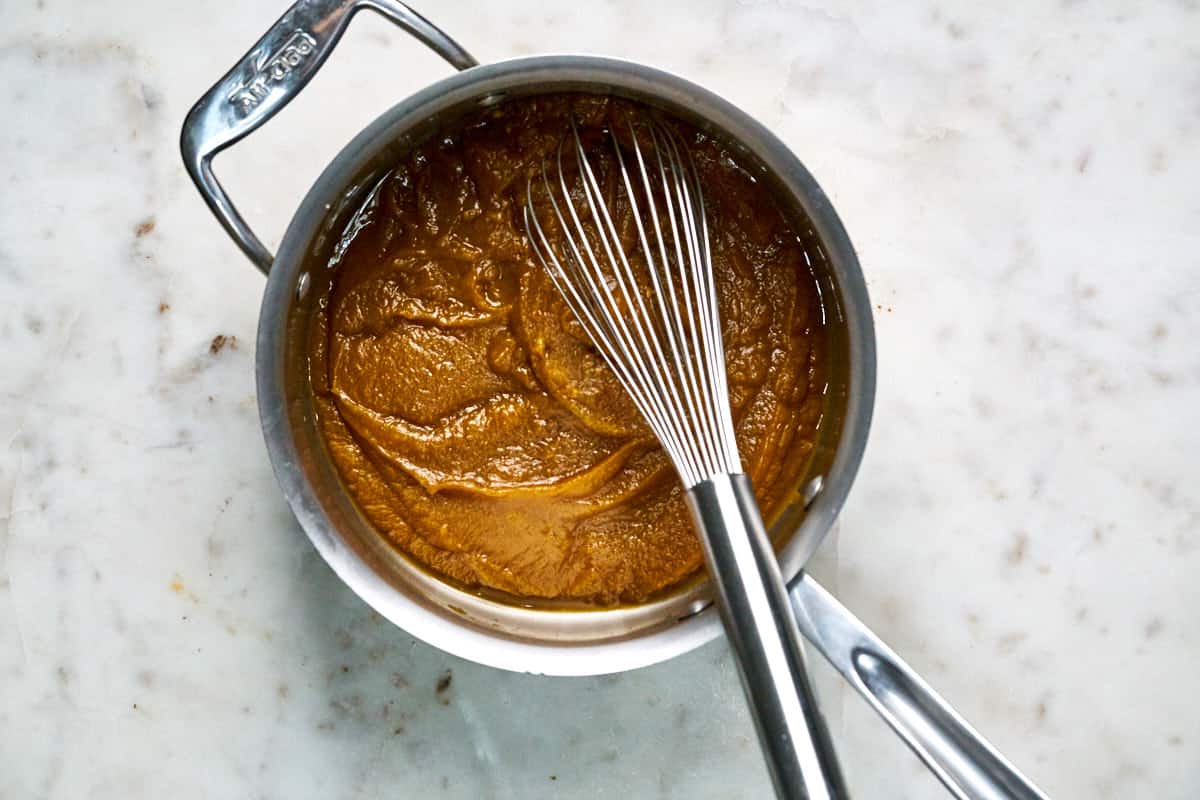
After peeling the pumpkin, add 2 cups of the pumpkin insides along with the granulated sugar, brown sugar, ginger, cinnamon, cloves, nutmeg, and salt to a food processor and blend it for 1 minute.
Next, transfer the spiced pumpkin puree from the food processor to a saucepan. Whisk it over medium heat until heated through, ~5 minutes.
🌟 Pro Tip
Cooking your pumpkin pie filling for a short while helps to release the amazing flavor and aroma of those spices!
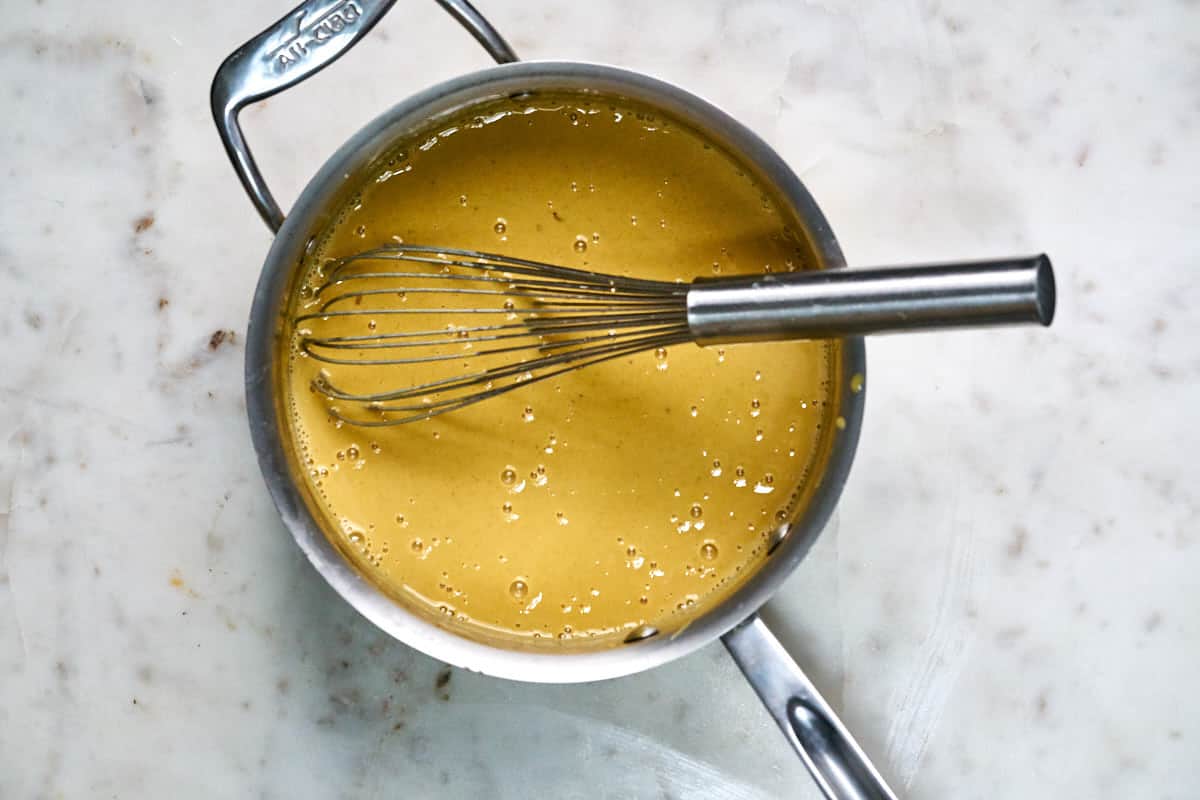
Next, add the half & half and the maple syrup to the mixture. Whisk until it’s all fully incorporated. Turn off the heat. Then, add the eggs and vanilla extract. Whisk until these are fully incorporated too.
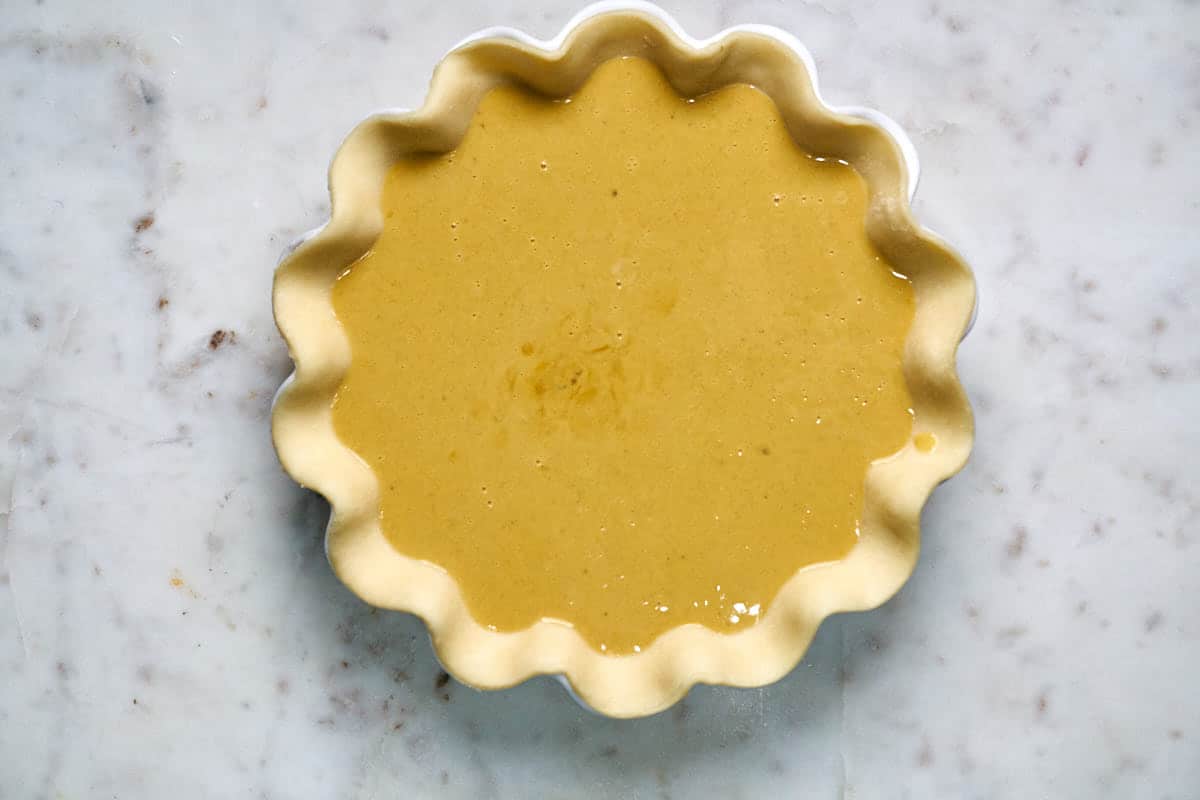
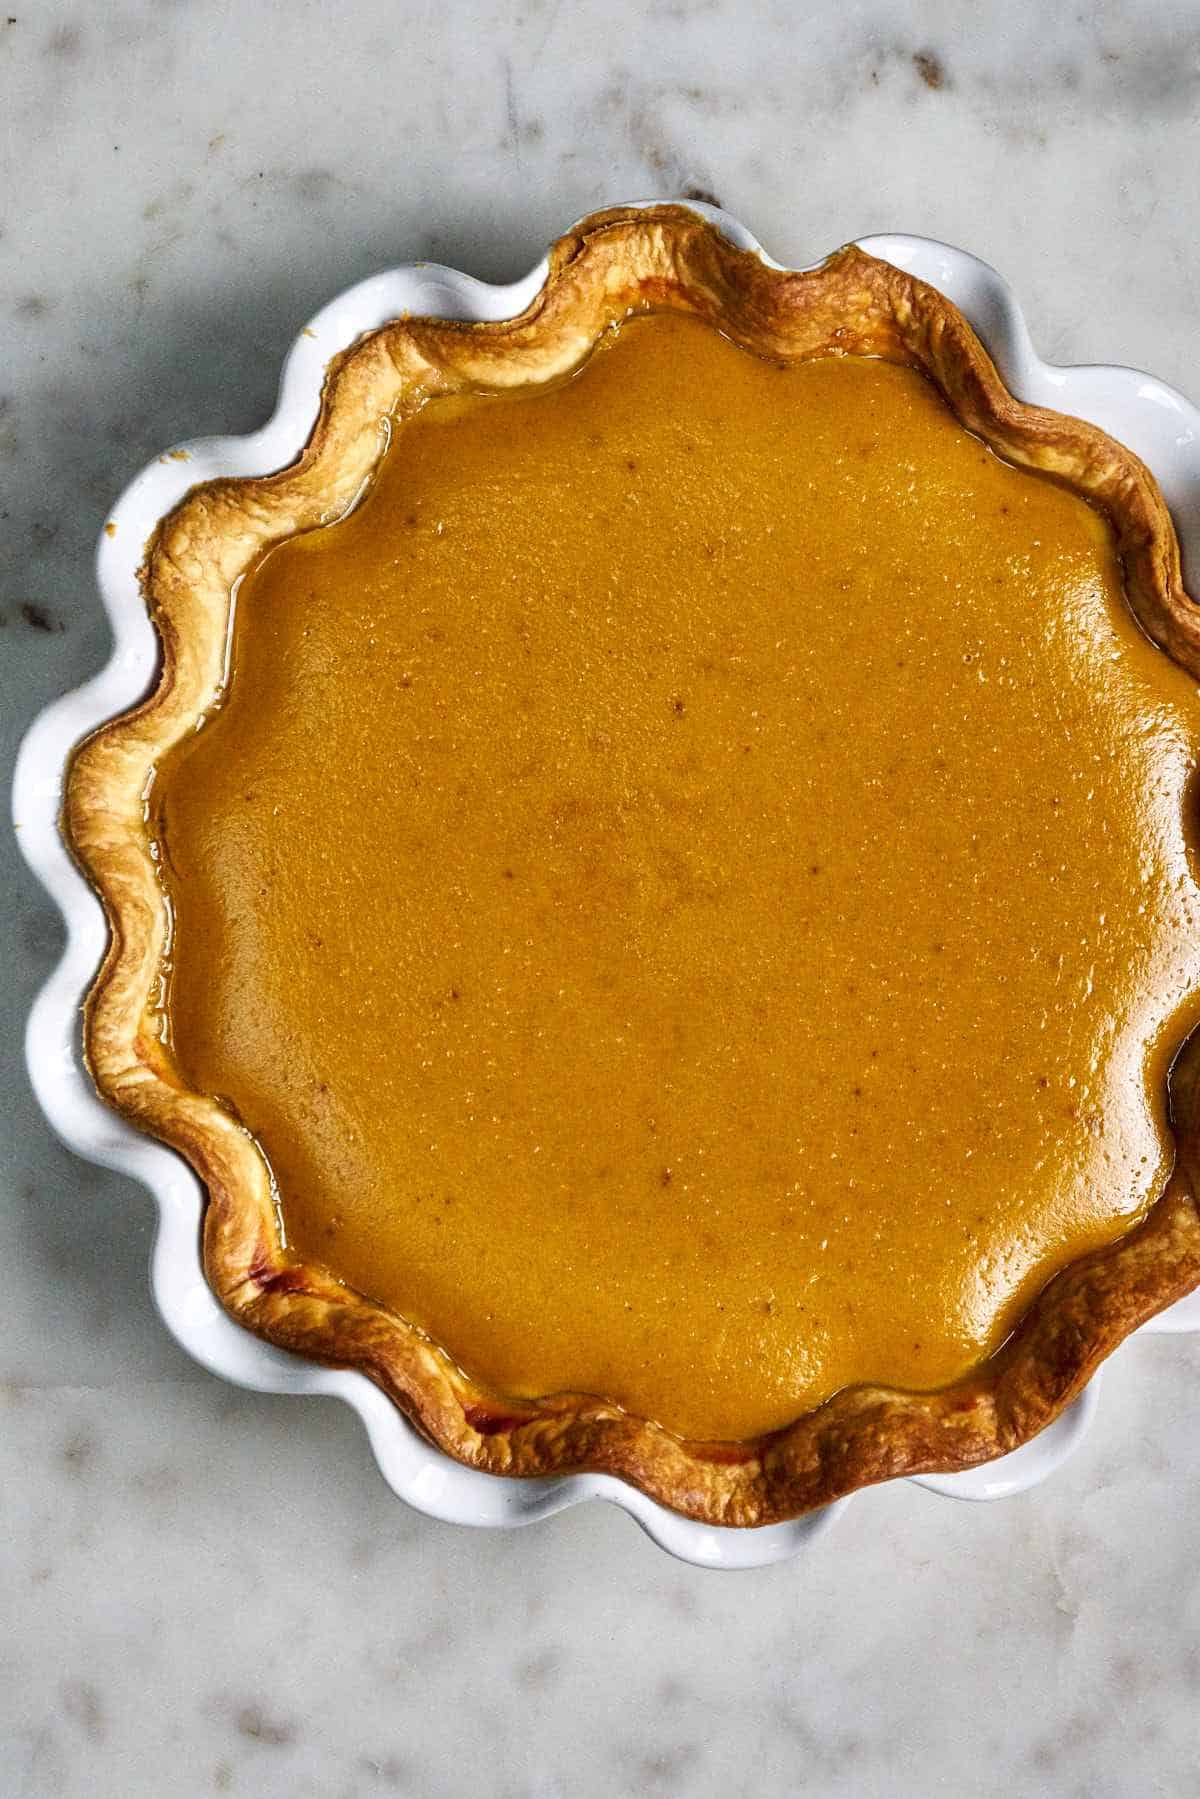
Add the pumpkin pie filling to your prepared pie dish with the already blind-baked pie dough. Bake the pie for ~1 hour, until a toothpick inserted into the center comes out clean.
Let it cool for at least 1 hour before cutting into it. Be patient – this is the hardest part, but it’s important to let the pumpkin pie filling fully set!
⭐️ Tips for the Best Results
Perfectly cooked pie: Insert a knife or toothpick into the center of the pumpkin pie. If it comes out clean, then it is ready. If you don’t want to insert a knife in the center, then you can check the doneness of the filling by shaking the pie and making sure it isn’t jiggly. This is a good alternative as inserting a knife into the center may cause the top to crack.
Prevent cracking: This happens because of drastic temperature changes, or if you’ve overcooked the filling. Help prevent cracking by leaving your pie to cool fully in the oven, after turning the oven off and cracking the oven door.
Blind bake the crust: Yes, blind-baking the crust of a custard-based pie prevents a soggy bottom.
🥧 Related Recipes
Get your baking hat on to make these impressive seasonal sweets.
Preheat your oven to 350°F with the rack in the lower half of the oven.
Cut the pumpkin in half lengthwise. Scoop out the seeds. Place cut side down on a baking sheet. Bake 1 hour. Let cool. Remove skin.
In the meantime, prepare your pie dish with the crust. Refrigerate for at least 30 minutes, until step 4.
1 store bought pie crust
Once the pie pumpkin is baked, let them cool enough so you can touch it, and remove all the skin.
Blind bake the crust by covering it with parchment paper and weighing it down with dry beans, pie weights, small shapes of dried pasta noodles, or even clean pennies and other change. Bake the pie crust for 10-12 minutes.
While it's blind baking, add 2 cups of the pumpkin meat along with the granulated sugar, brown sugar, ginger, cinnamon, cloves, nutmeg, and salt to a food processor and blend it for 1 minute.
2 cups pie pumpkin, 1/3 cup granulated sugar, 1/4 cup packed brown sugar, 1 tsp ginger, 1 tsp cinnamon, 1/4 tsp ground cloves, 1/4 tsp ground nutmeg, 1/2 tsp salt
Add the puree to a saucepan. Whisk over medium heat until heated through, ~5 minutes.
Add the half-and-half and maple syrup. Whisk until incorporated. Remove from heat.
1/4 cup 100% maple syrup, 1 1/4 cups half-and-half
Add the eggs and vanilla extract. Whisk until incorporated.
2 eggs, 1/2 tsp vanilla extract
Add the pumpkin mixture to your prepared pie dish.
Bake ~1 hour, until a toothpick inserted into the center comes out clean. Let it cool for 1 hour before cutting into it.
Notes
Insert a knife or toothpick into the center of the pumpkin pie. If it comes out clean, then it is ready. If you don’t want to insert a knife in the center, then you can check the doneness of the filling by shaking the pie and making sure it isn’t jiggly.Note: Inserting a knife into the center can cause the top to crack, so I prefer a toothpick and then cover the hole with whipped cream.If you like, substitute the pie pumpkin with pureed pumpkin in a can.
You can keep the cooked pumpkin puree in a sealed container in the refrigerator for up to 3 days. You can also freeze it and defrost it overnight in your refrigerator.
Buying pre-made pie crusts from local bakeries is a great way to support them and take a tasty shortcut to the perfect pumpkin pie filling.
I already have a family recipe for pie dough that I can make blindfolded, but I have been searching for a pumpkin pie filling that is equally as delicious. Tried yours and it is totally lives up to expectations. Luckily my local store had pie pumpkins and I was able to totally make it from scratch this time. So good!
Too often do I stumble upon pumpkin pie recipes that call for the canned stuff, without ever giving any clue on how to make it from scratch if you can’t buy canned pumpkin purée (I don’t live in the States). So thank you for this.
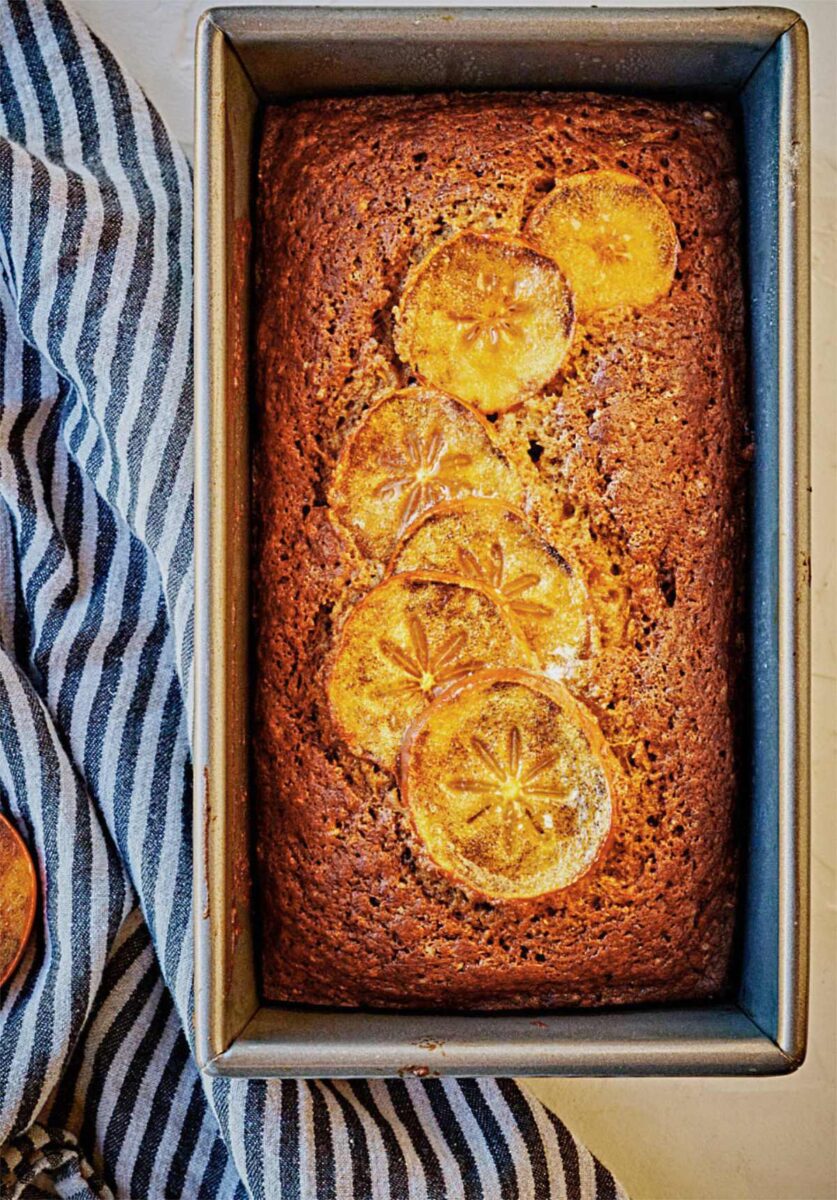
Followed this recipe exactly and it was delightful! I used wild persimmons off a tree on our land. It was delicious warm with butter spread on it. Thanks!

I already have a family recipe for pie dough that I can make blindfolded, but I have been searching for a pumpkin pie filling that is equally as delicious. Tried yours and it is totally lives up to expectations. Luckily my local store had pie pumpkins and I was able to totally make it from scratch this time. So good!
I’m so glad the filling recipe lived up to your expectations, Jack… thank you for taking the time to share and enjoy!
This pumpkin pie is amazing! Just what I needed to kick of November. And I love how easy it is to make with those step-by-step pictures.
That makes me so happy to hear, Sam!
In love with this simple and perfect pie filling recipe. I love to make everything from scratch and this pie filling recipe is a keeper. It’s perfect!
I’m so glad to hear you liked it, Jo!
Too often do I stumble upon pumpkin pie recipes that call for the canned stuff, without ever giving any clue on how to make it from scratch if you can’t buy canned pumpkin purée (I don’t live in the States). So thank you for this.
You’re so welcome, Eva. I’m glad you liked it!
I love pumpkin pie at this time of year and your addition of maple syrup is perfect.
So glad to hear you like it, Colleen!
Totally LOVE this pumpkin pie. One of my top 3 for sure. I could eat the filling as a dessert alone.
That makes me so happy to hear, Gloria… thank you!
Followed this recipe exactly and it was delightful! I used wild persimmons off a tree on our land. It was delicious warm with butter spread on it. Thanks!
Thank you, K! I think you’re referring to the Persimmon bread recipe, right?