
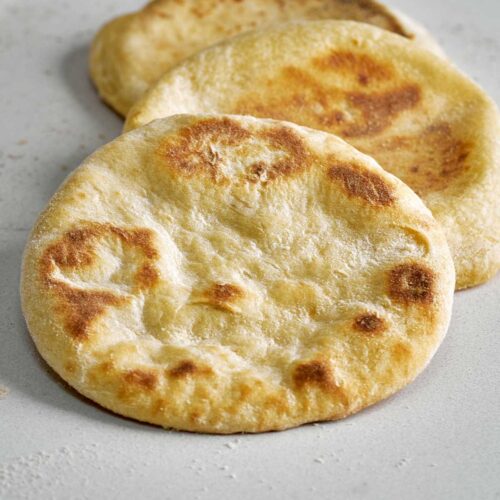
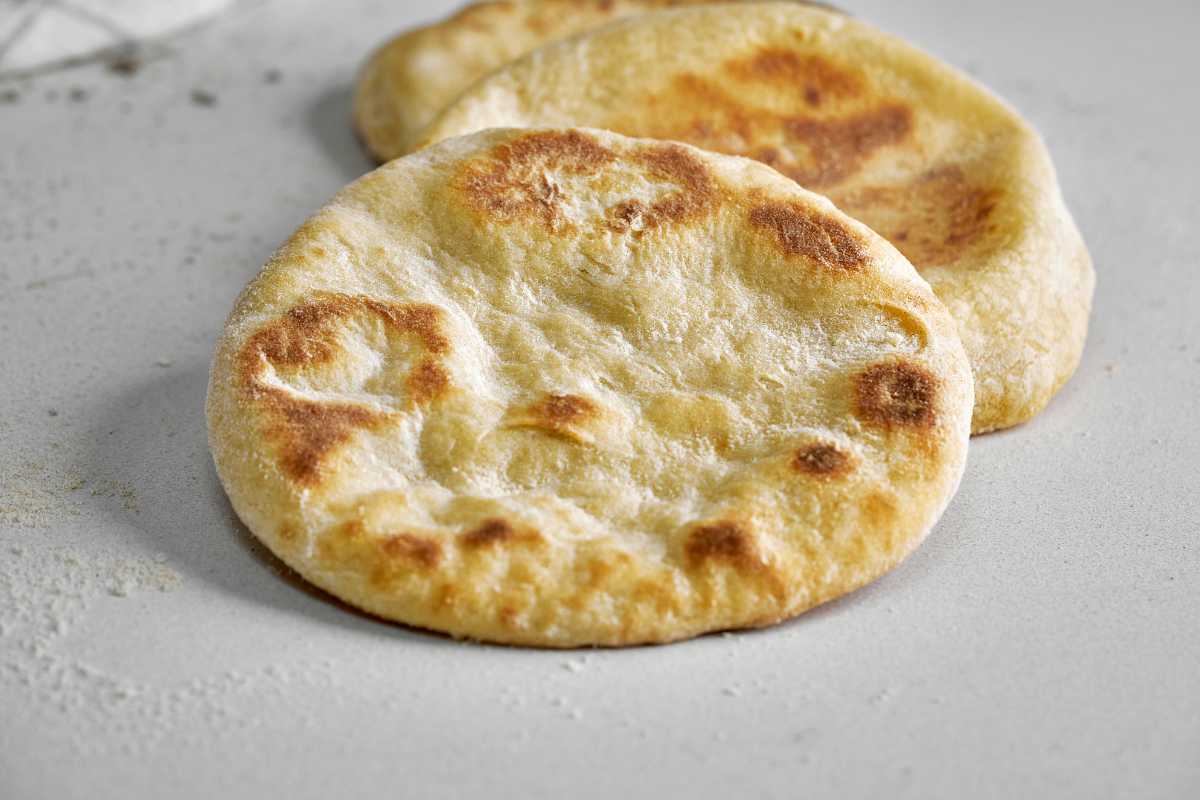
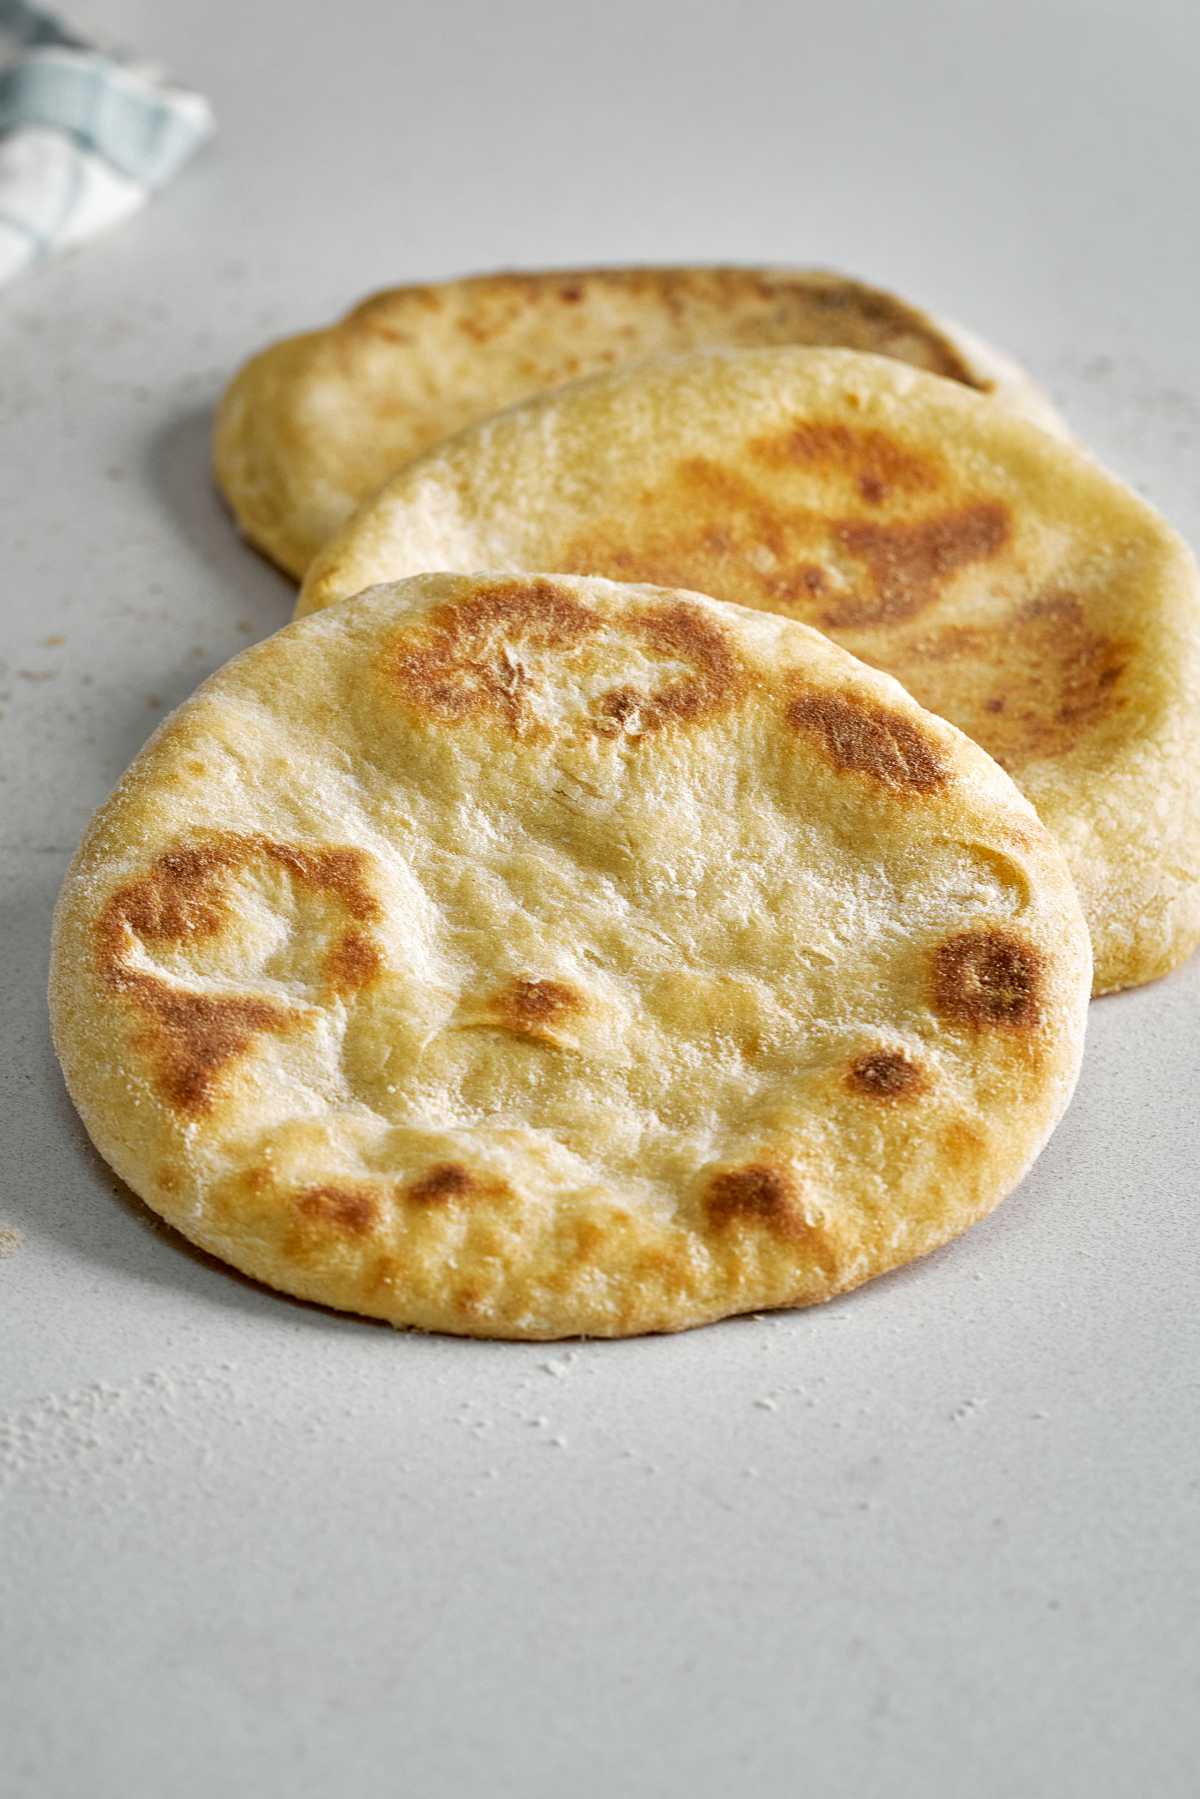
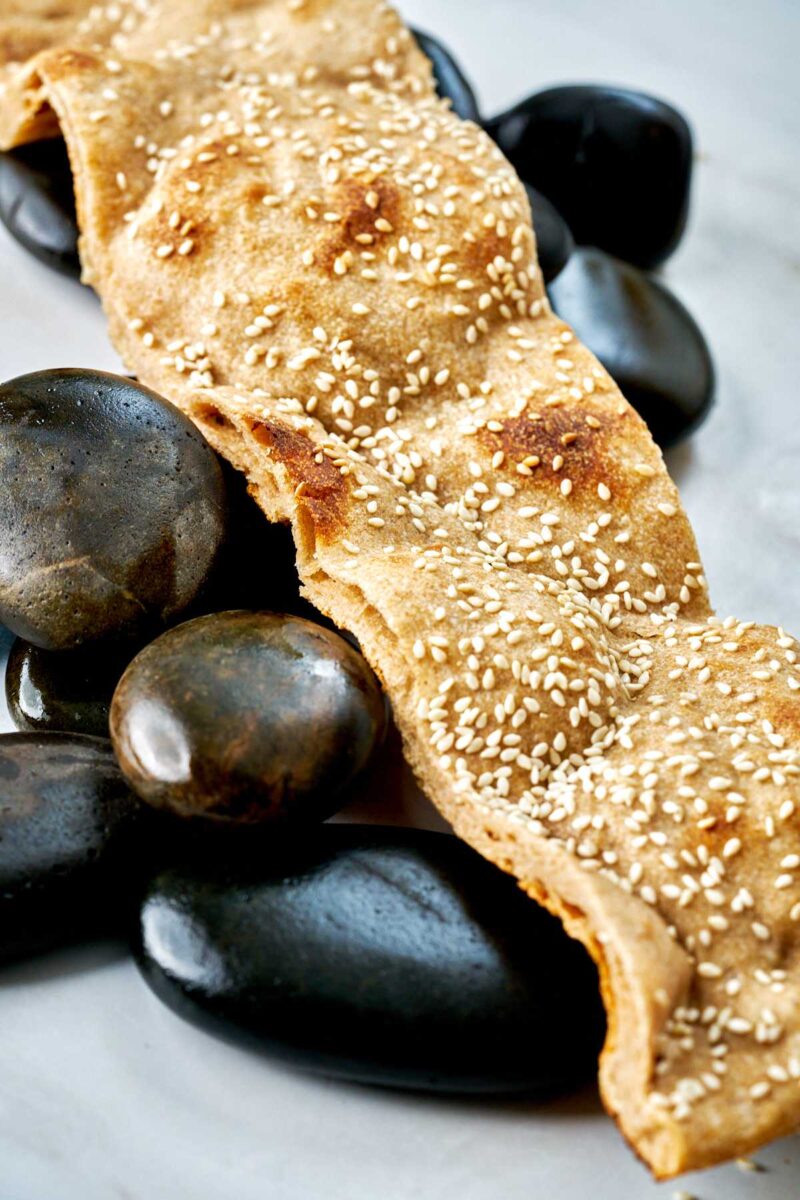
This delicious, 5 ingredient homemade pita bread recipe has all the elements of perfect pita bread – it makes the perfect pocket, with a lacy interior. The texture is soft and slightly chewy, perfect for pairing with a filling of your choice or a tasty dip.
Pita is enjoyed all over the Middle East where it originated. The term “pita” was first used to describe the flatbread in Greece. We enjoy pita in Persian cuisine and I love using them to make sandwiches with kotlet or kuku sabzi.
🌟Why you’ll love this recipe
🧾Ingredients in this recipe
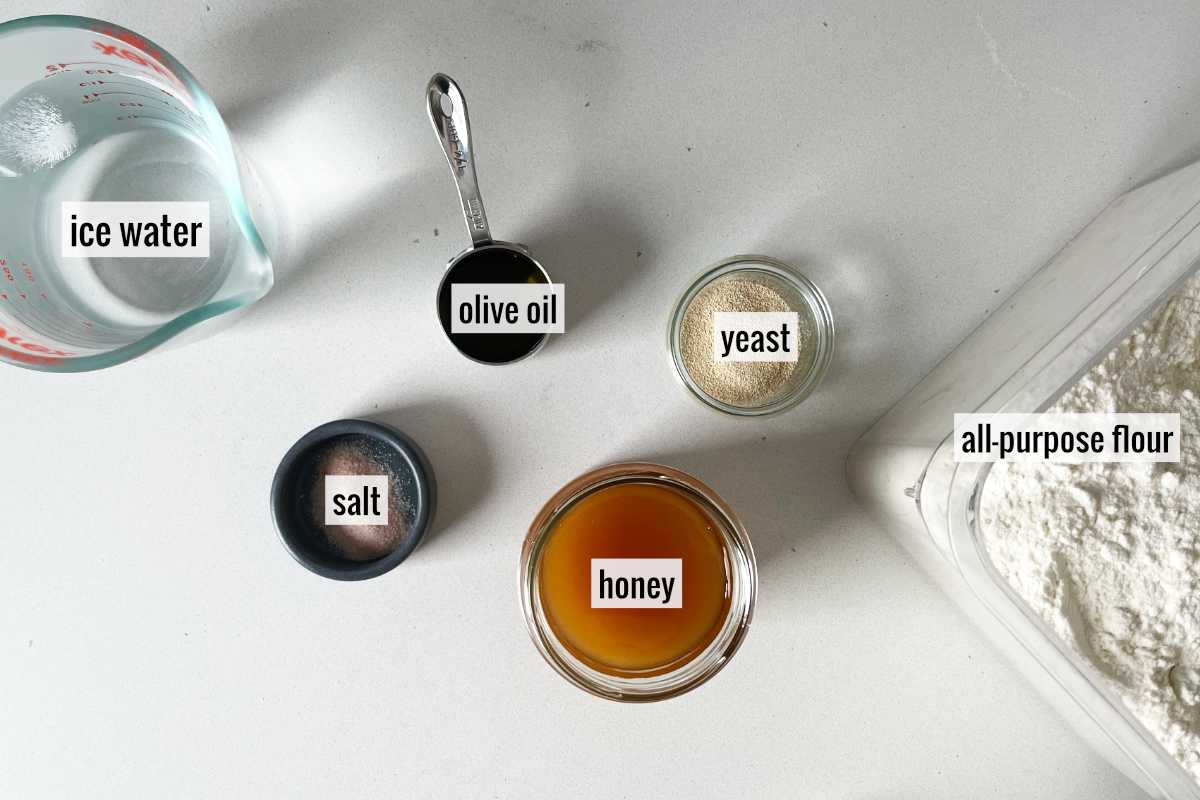
See the recipe card for full information on ingredients and quantities.
👩🍳How to Make This Recipe
Pita dough needs to ferment overnight in the refrigerator, so we will make the dough first, and then bake it the next day.
Prepare the dough
The first step is to add 415 grams of flour, 2 1/4 teaspoons of yeast, 300 grams of ice water, 4 teaspoons of honey, and 1/4 cup of olive oil to the bowl of your stand mixer. Mix for 1-2 minutes on the stir setting of your stand mixer. Then, let it sit for 10 minutes. (This delay helps the gluten develop.)
You can substitute up to 85 grams of whole wheat flour without compromising this recipe – doing this adds a bit more flavor to the dough.
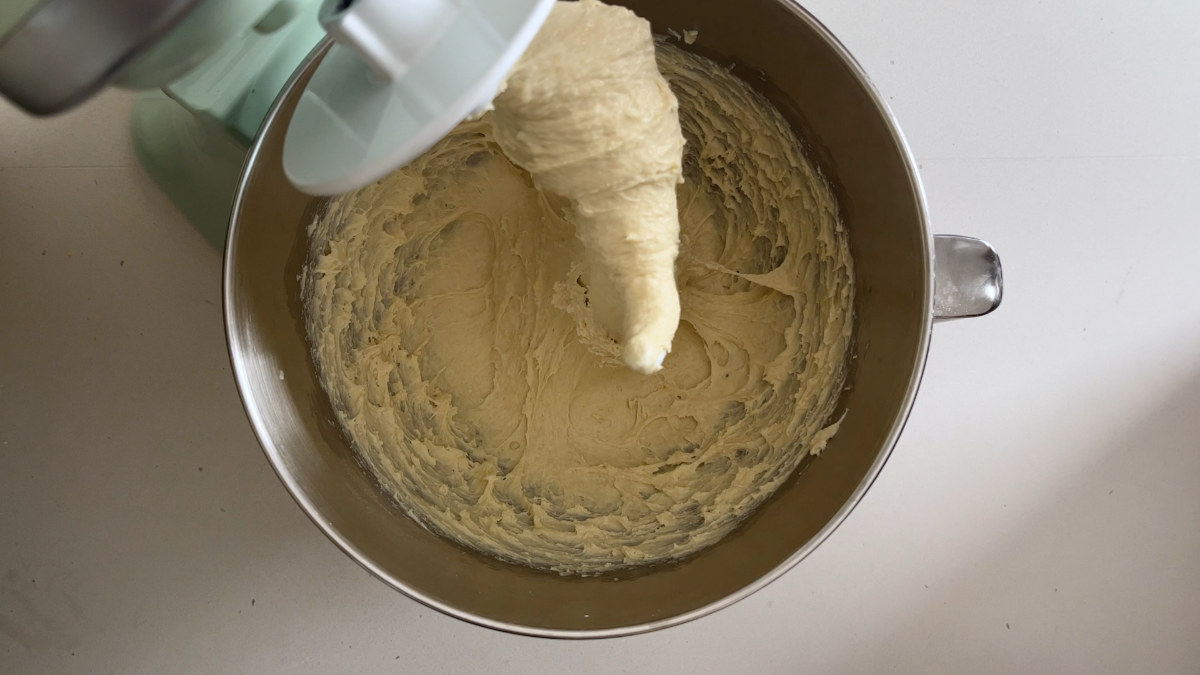
Next, add 1 1/4 teaspoons of sea salt. Knead the dough in the mixer for 6-8 minutes on medium speed. The dough will be much tackier than other dough, and you will see that it’s sticking to the sides of the bowl.
Now, spray your countertop with oil. (I use olive oil spray but you can also just spread oil on the countertop with your hands). Also, coat your hands in the oil. Pull the edges of the dough into the center of the ball to form a disc.
Divide the ball of dough into 8 even pieces. For each, make sure to pull the edges of the dough to the center to help make them rounded.
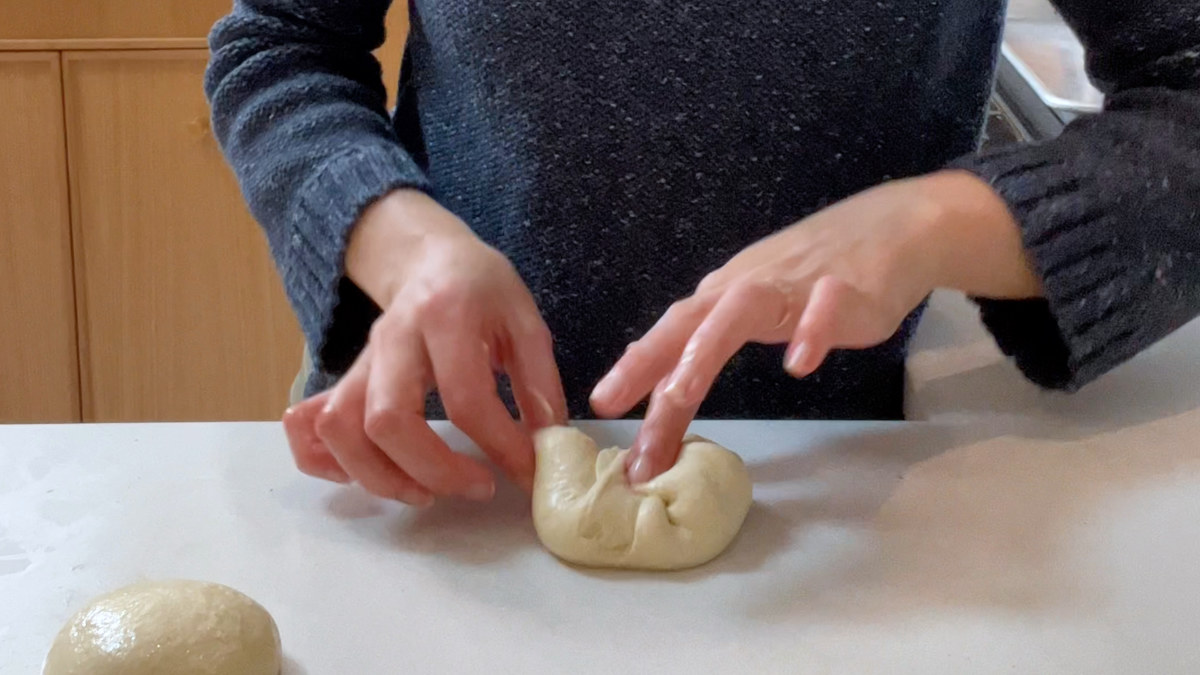
Place the dough ball dimple side down on the countertop, and move your hand in a circular motion to remove the dimple.
Pro Tip
If you have a dimple in the dough, that dimple will end up being a spot where the two sides of the pita pocket stick together.
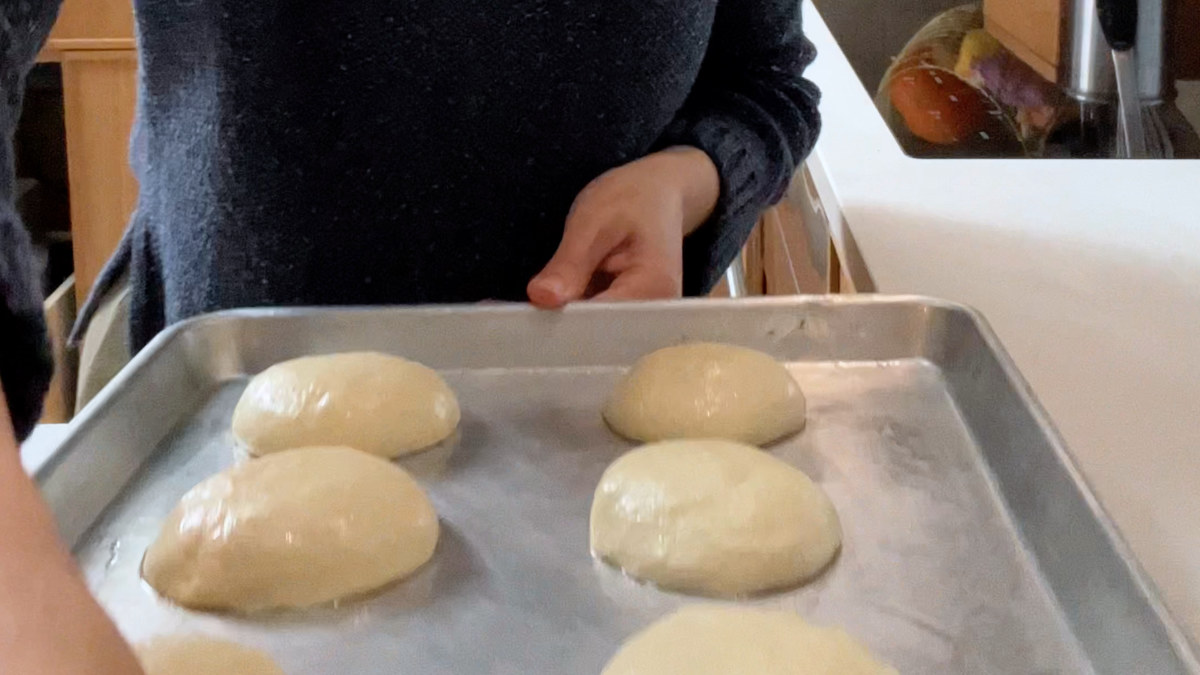
Put the dough on an oiled tray, spray oil over the top, then cover it with plastic wrap or a lid.
Cold ferment
Place the dough in the fridge for 16-48 hours to ferment slowly.
The yeast ferments and releases gas/bubbles in the fridge. The warmer the dough, the more bubbles, which we don’t want. So we use ice water and “rise” in a cold environment so we don’t over-encourage the bubbling. Bubbles will create a fluffy dough without a pocket.
Bake the pita
Preheat your oven to 500°F with a baking steel or stone at the lowest setting in the oven. If you don’t have one, you can preheat your baking sheet.
It is placed in the lowest position in the oven so the pita doesn’t set too soon from the heat at the top of the oven, one thing that will make the pita not puff properly.
Flour your workspace very generously. Using a bench scraper or spatula to avoid adding dimples to your dough, scoop up your first dough ball and transfer it to the flour.
Be sure to keep track of which side is the top and which is the bottom for each dough ball. The top of the pita bread is the prettier side, so I like to keep track of that side of the bread staying on top!
Press each ball of pita dough into 5-inch rounds. Be gentle to make sure your fingers don’t penetrate through or create a tear or the full pocket, otherwise, the pocket won’t form.
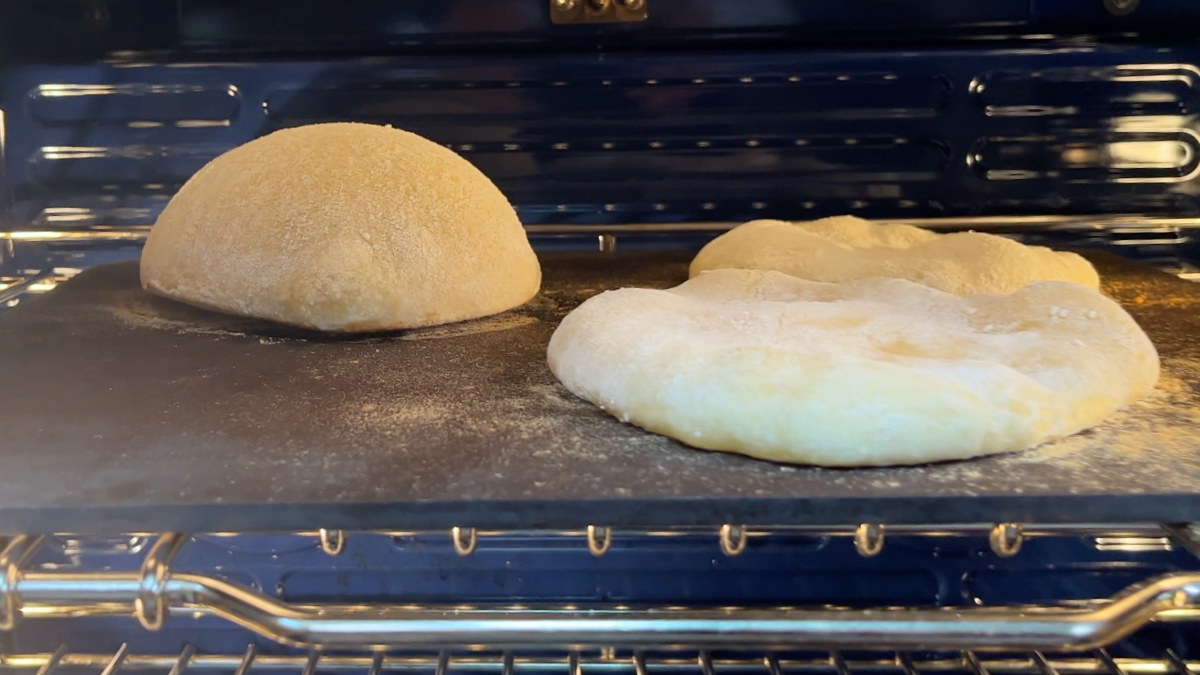
Then flip and use a rolling pin to roll the dough into a 7-inch round. Move it around so it doesn’t stick to your work surface. Brush off the excess flour, and place in the oven top side down two at a time. Placing them bottom side down initially can prevent the full puff.

Once the pita puffs up like a balloon (2-4 minutes), roll each other over to brown the other side for just one more minute.
Finally, transfer the cooked pita onto a wire cooling rack or cutting board, cover them with a clean kitchen towel, and let them rest for 10 minutes.
Continue with the rest of the pita until you have a full batch of fresh pita!
FAQs
You can leave the dough in the refrigerator and bake it up to 2 days later. After baking, you can enjoy the pita bread for up to 3 days, but longer (up to 1 week) if you store it in the refrigerator.
To keep pita bread fresher longer, store it in an airtight container, then place it in a bread bin. Storing in the fridge helps stretch the shelf life.
A high oven temp, placing them in the lowest position in the oven, using ice water & cold-fermenting, making sure the dough isn’t dimpled before rising, and handling the dough gently to not create any new dimples in the dough are all important to make sure your pita puffs up properly.
🥖 Related Recipes
Homemade bread is delicious and so worth the effort to make. Give these great bread recipes a try!
I love hearing from you! You can also FOLLOW ME on INSTAGRAM, TIKTOK, and PINTEREST to see more delicious food and what I’m up to.
5 Ingredient Homemade Pita Bread
Ingredients
- 415 grams flour
- 2 ¼ tsp yeast
- 300 grams ice water
- 4 tsp honey
- ¼ cup olive oil
- 1 ¼ tsp sea salt
Equipment
- baking steel or sheet
- Wire Rack optional
Instructions
- Mix flour, yeast, ice water, honey, and olive oil for 1-2 minutes on the stir setting of your mixer fitted with the dough hook. Turn it off and let it sit for 10 minutes. Then, add 1 1/4 tsp salt.415 grams flour, 2 1/4 tsp yeast, 300 grams ice water, 4 tsp honey, 1/4 cup olive oil, 1 1/4 tsp sea salt
- Knead in the mixer for 6-8 minutes on medium speed. The dough is much tackier than other dough, so it will be sticking to the sides of the bowl.
- Spray the countertop and hands with oil. Shape into a big dough ball, pulling edges to center to make it round. Then divide into eight even pieces.
- For each, make sure to pull the edges of the dough to the center to help make them rounded. Place the dough ball dimple side down on the countertop, and move your hand in a circular motion to remove the dimple.
- Put each dough ball on an oiled tray, spray oil over the top, then cover it with plastic wrap or a lid.
- Place the dough in the fridge for 16-48 hours.
- Preheat oven to 500°F with a baking steel, stone, or baking sheet in the lowest position in oven.
- Flour your workspace very generously. Using a bench scraper or spatula to avoid adding dimples to your dough, scoop up your first dough ball and transfer it to the flour.
- Press each ball of pita dough into 5-inch rounds. Be gentle to make sure your fingers don’t penetrate through or create a tear or the full pocket, otherwise, the pocket won't form.
- Then flip and use a rolling pin to roll the dough into a 7-inch round. Move it around so it doesn’t stick to your work surface.
- Brush off the excess flour, and place in the oven top side down two at a time. Placing them bottom side down initially can prevent the full puff.
- Once the pita puffs up like a balloon (2-4 minutes), roll each other over to brown the other side for just one more minute.
- Transfer to a wire cooling rack, or cutting board. Cover with a towel. Let them rest for 10 minutes.
- Continue until all 8 pita are baked.