
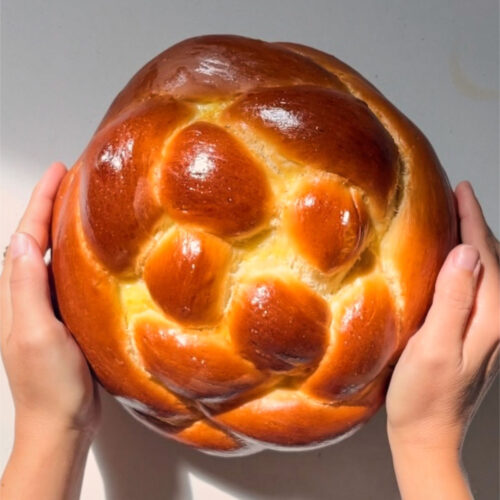
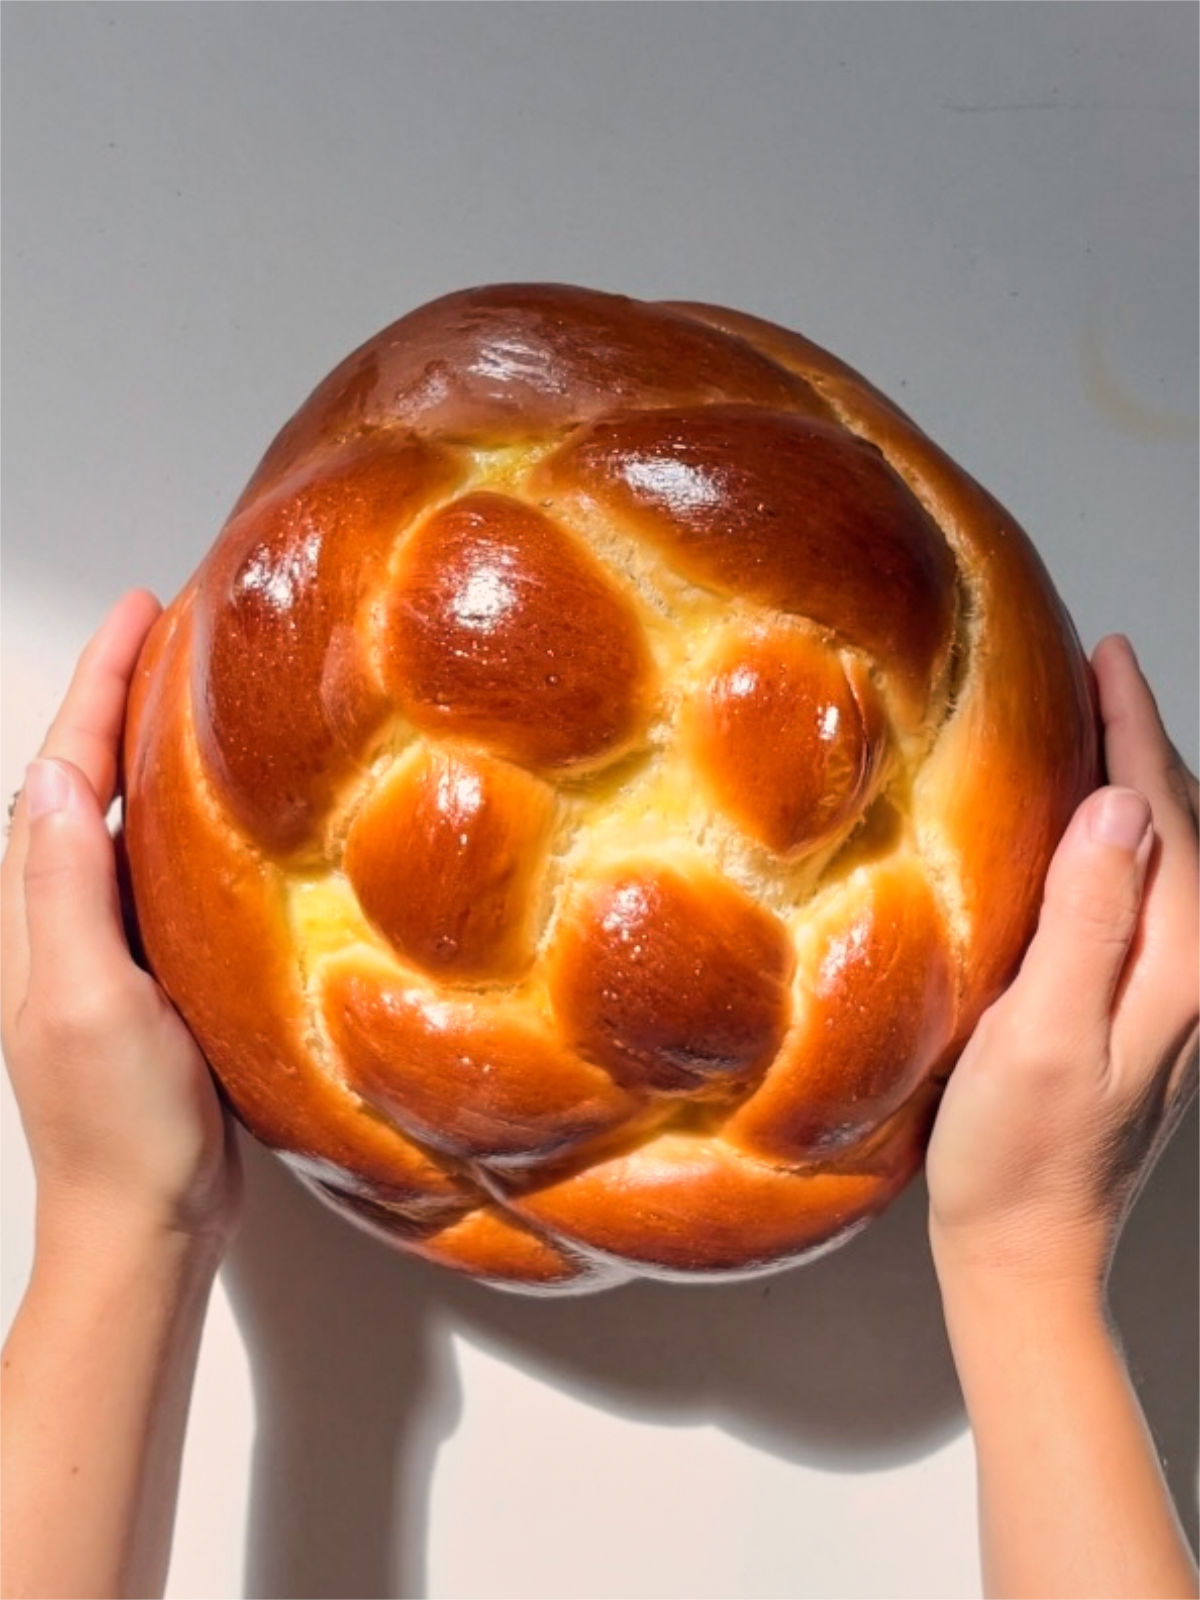
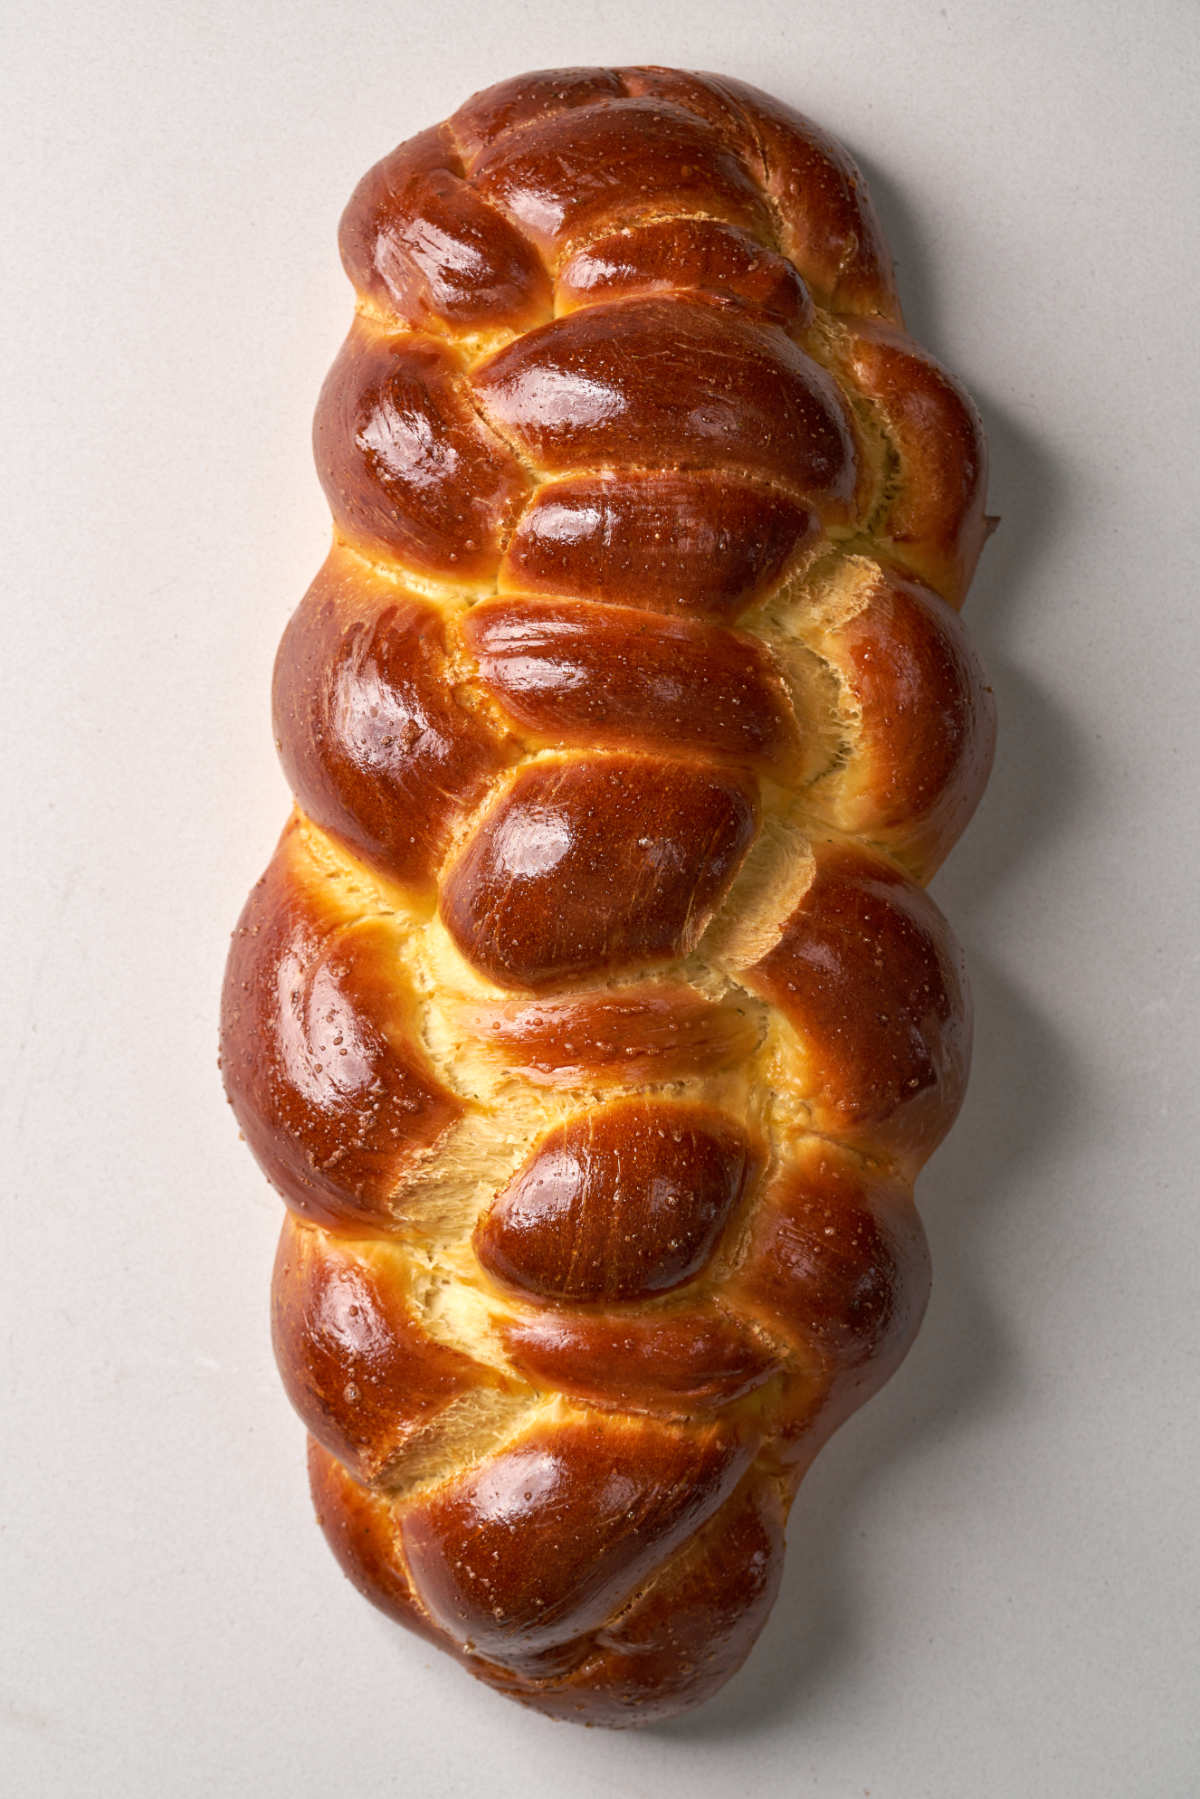
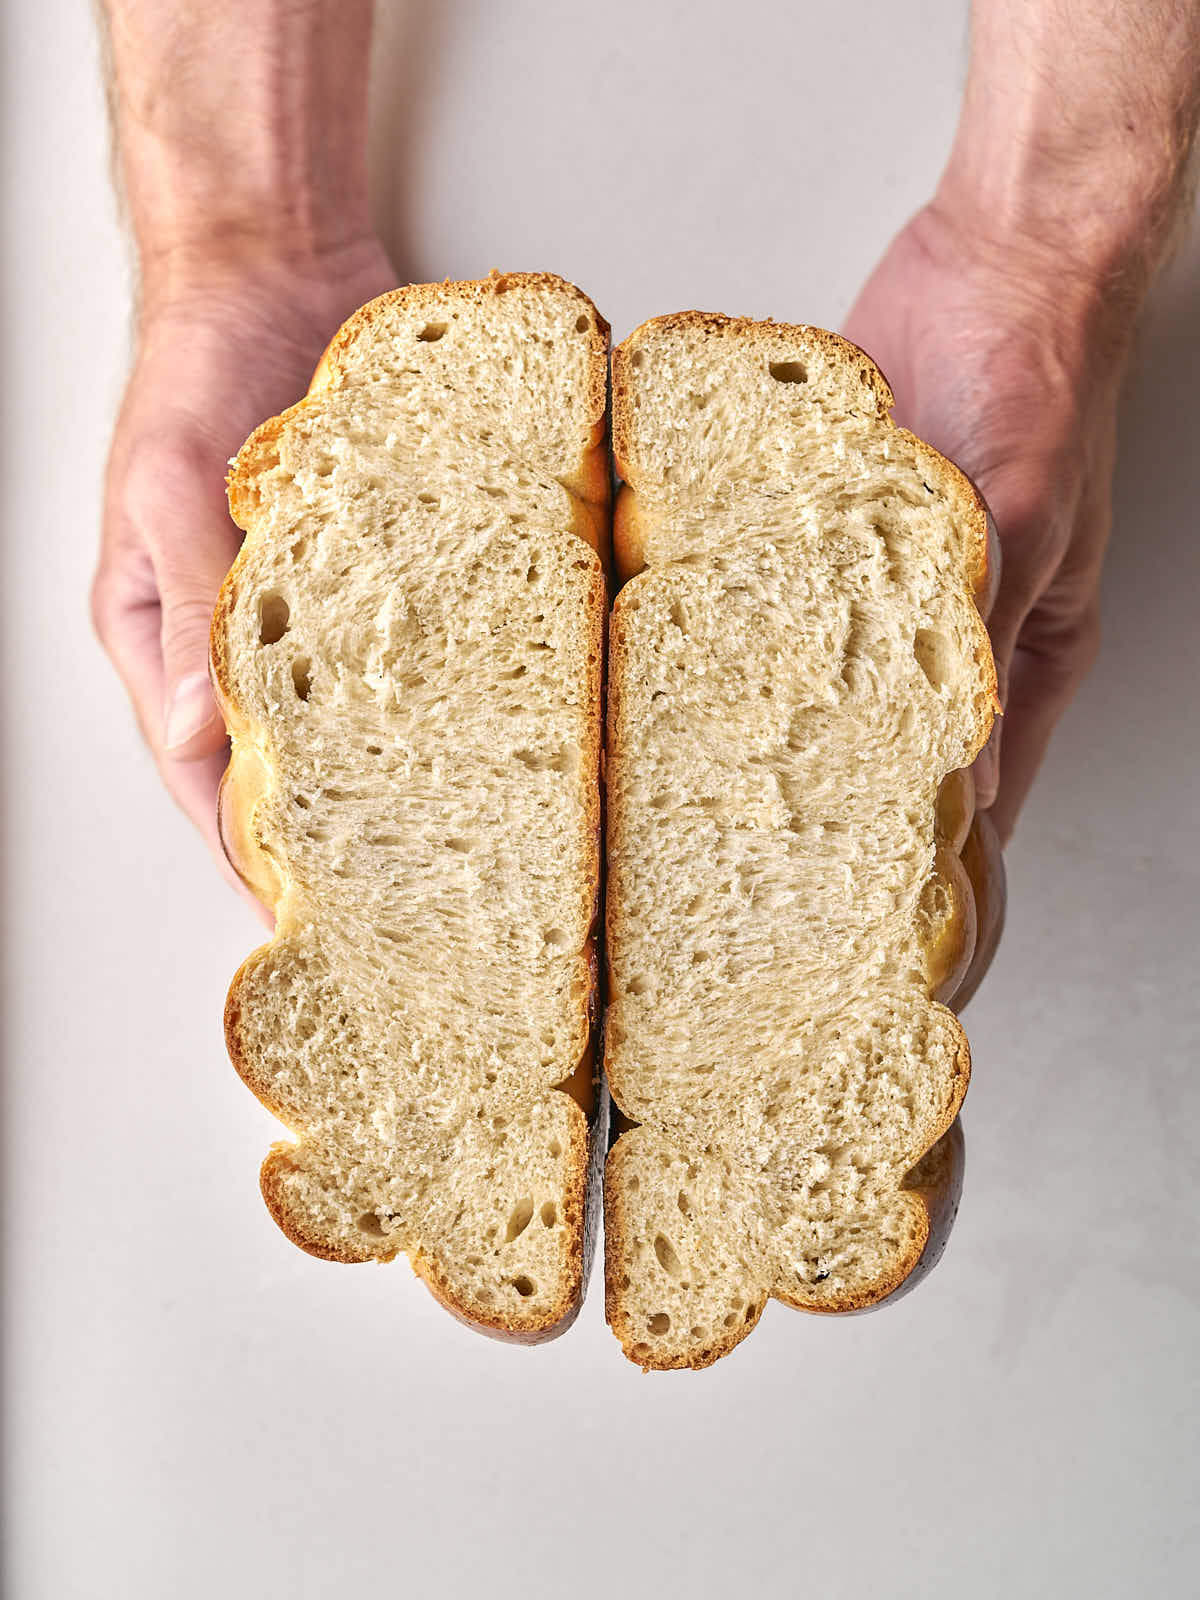
L’shana tova! Bake a golden, rich homemade challah featuring a pillowy-soft interior under a glossy crust that’s completely dairy-free (pareve). This simple, stand-mixer recipe yields a beautifully braided round or 4-strand loaf with minimal hands-on prep time. Learn my pro technique of stacking baking sheets to guarantee a perfectly lifted, tender crumb with zero scorched bottoms.
✅ Tips for the Best Challah Bread Every Time
- Always test your yeast – Challah that doesn’t rise is usually due to either incorrect proofing times (too short or too long), or yeast that wasn’t properly activated. you must test your yeast to ensure it’s active. I always buy plenty of extra yeast as some packets can often be duds. Keep spare yeast in the refrigerator to prolong the shelf life.
- Knead the dough well – Don’t skimp on the kneading! This is key to getting the right texture and a smooth challah dough.
- Let the challah rest after baking – rest for 30 minutes minimum. This is the hardest part because we all want to start tearing into it, but it is well worth it!
- Bake until internal temp reads 190F – This is the most accurate indicator of the bread being cooked properly. Click here to shop for my favorite thermometer.
- For slicing, cook the challah in a springform pan – if you plan on using your challah to make French toast or slice it for other recipes the next day, the springform pan yields a better shape.
- Avoid dense challah: If you make this recipe and the yeast has not been properly activated, it will never get that stretchy texture. Instead, it will be more solid and hard to roll. Make sure the yeast is activated before going any further.
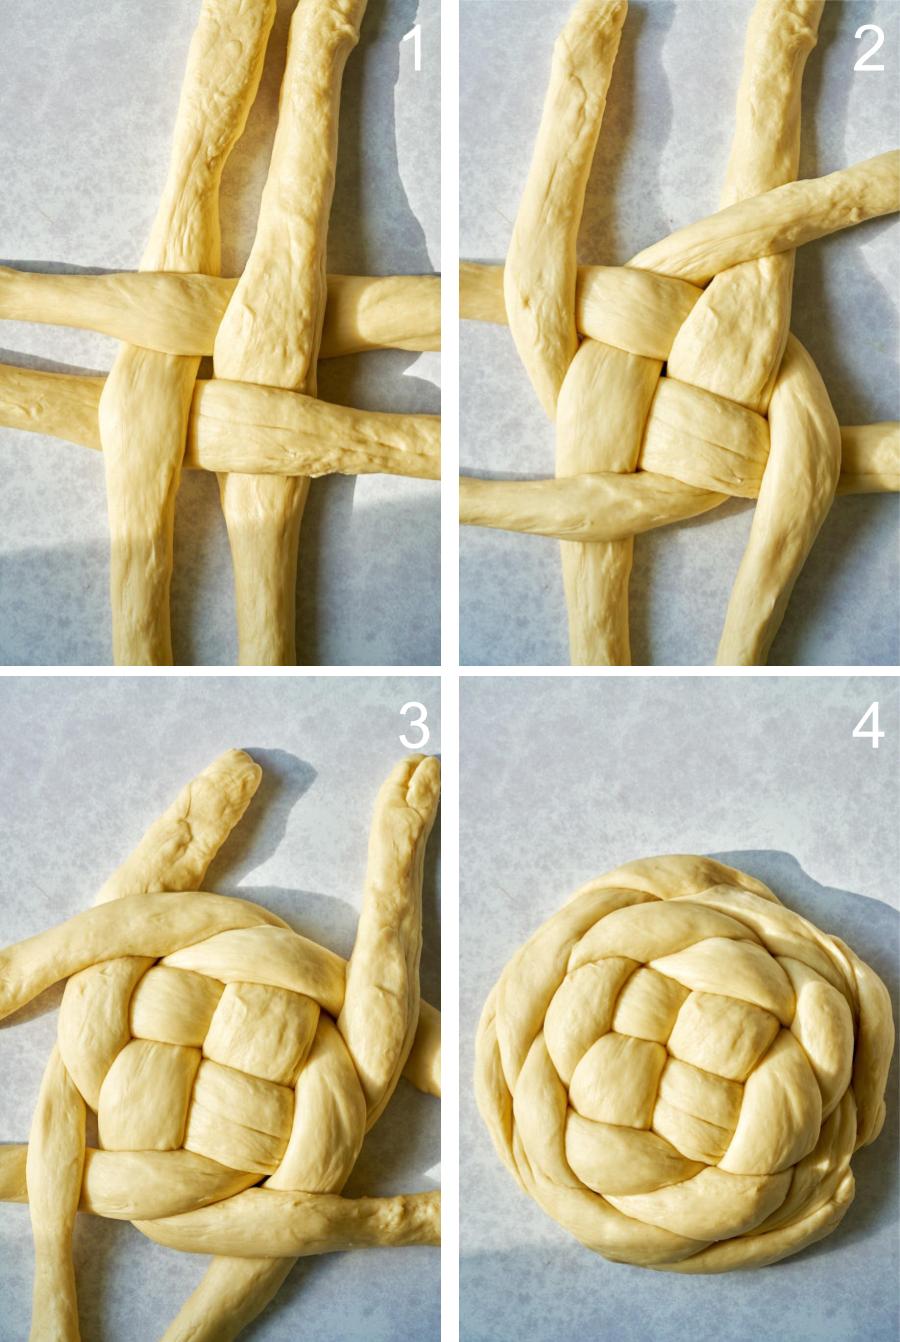
🟤 How to Braid a Round Challah
Divide the dough into 4 equal 16-inch long ropes with the ends tapered. Tapering the ends helps minimize the bulk at the end when you tuck them under the challah.
🥖 How to Braid a 4-Strand Challah
Divide the dough into 4 equal 16-inch long ropes with the ends tapered. There are two main kinds of 4-strand braids. One is more of a chain link, and the other is a flat braid. You can use either version.
Start by anchoring the top by pinching them together. Number the ropes from left to right, 1-4.
The pattern is as follows:
- Strand 3 over strand 2.
- New strand 3 over strand 4.
- Strand 3 over strand 2.
- Strand 1 over strand 2.
Keep repeating this pattern down the braid.

Candice Recommends for Mix-ins
The time to add mix-ins is before you braid the challah. If your ingredients add moisture, you’ll want to compensate for the extra moisture by reducing the flour in the recipe. I adjust this challah recipe to make raisin challah in this post which works for any dried fruit.
🍞 Related Recipes
Celebrate every Jewish holiday this year in a delicious way with these fantastic Jewish recipes.
I love hearing from you! You can also FOLLOW ME on INSTAGRAM, TIKTOK, and PINTEREST to see more delicious food and what I’m up to.
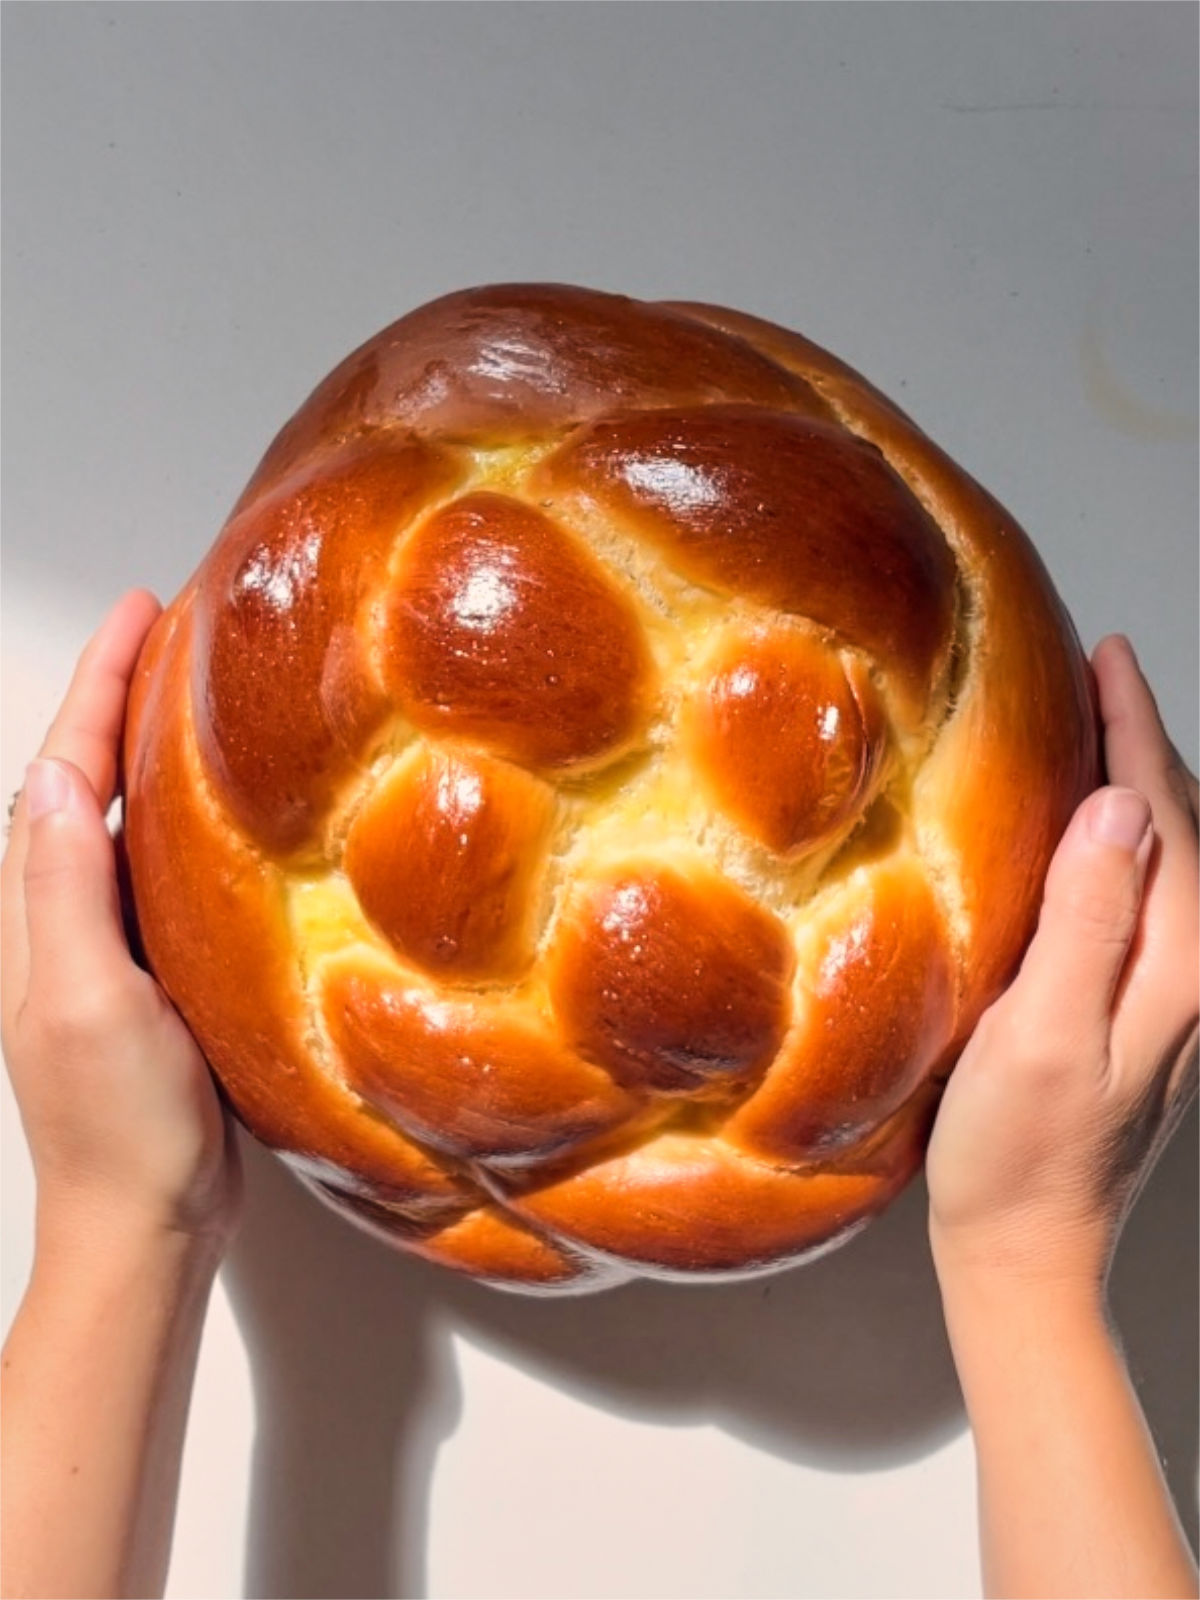
Challah Bread: Round & 4-Strand
Ingredients
- 2 egg yolks room temperature
- 2 eggs room temperature, one is for the egg wash
- ½ cup water lukewarm, less 1 tbsp
- 2 tbsp vegetable oil plus more for greasing
- 370 g all-purpose flour 2 3/4 cups + 2 tablespoons
- 7 g active dry yeast 2 1/4 teaspoons
- ¼ cup sugar granulated or cane
- 1 tsp salt
- 2 tbsp sesame seeds / poppy seeds optional
Instructions
- Add 1 egg, 2 yolks, the lukewarm water, and 2 tablespoons of vegetable oil to a stand mixer with a whisk attachment and mix until combined.2 tbsp vegetable oil
- Switch to the dough hook. Add in the flour and yeast. Run on low for 3-4 minutes. Rest for 20 minutes while the flour hydrates.370 g all-purpose flour, 7 g active dry yeast
- Add in 1/4 cup granulated sugar and 1 teaspoon of salt. Run on medium speed for 9 minutes.1/4 cup sugar, 1 tsp salt
- Quickly hand knead to make sure it doesn't stick to the counter. If it does, add a little more flour. Lightly oil the bowl and the dough, cover, and rise for 1.5 hours until just about doubles in size. If your bowl has a lid, you can seal it. If not, cover the bowl with a kitchen towel, and seal the bowl (and kitchen towel) in a garbage bag to trap in the air.
- Punch down the dough, divide, and braid. Divide the dough into 4 equal 16-inch long ropes with the ends tapered. See photos for braiding instructions.
- Stack two baking sheets** and top with a layer of parchment or a silicone baking mat. Cover with cling wrap and prove for 3 hours. It will double in size.
- Heat oven to 350F with the rack in the middle.
- Mix the remaining egg in a bowl. Brush over the challah. Sprinkle with the sesame/poppy seeds.2 tbsp sesame seeds / poppy seeds
- Bake 35-40 minutes for round (27-31 minutes for 4-strand) until the internal temperature reads 190F.
- LET IT REST! 30 minutes minimum. This is the hardest part but it is well worth it.
I would like to know if this recipe can be used in a bread maker.
Hi Ellen, I do know you can make a brioche loaf in a bread maker, but it would require a break maker specific recipe. You wouldn’t make a challah with the braid (obviously) but brioche would be the closest. If you give it a try with this recipe (or anyone else), I’d be very curious to hear how it comes out!
I made the recipe but I made rolls instead of a loaf. Divided dough into 12 rounds. Then rolled it into a rope, flattened it out, split into three, braided and then pinwheeled each. Baked them in a very lightly greased cupcake pan. They turned out beautifully and the taste was amazing
So delicious! I made it last Friday for Shabbat and it was crazy delicious. So light and fluffy.
I am confused. In the notes before the recipe, you say NOT to use instant yeast, but in the pictures and the recipe, you specifically say to use instant yeast. Which is it?
Great question. Use dry instant yeast, not the wet yeast that can also be called fresh yeast.
This turned out amazing! I had not made challah bread before and the steps were easy to follow, until it came to the braiding. My own mind got confused with this but your pictures really helped! I had to undo the attempted braid twice before I got it but got there in the end. The end result is a lovely deep golden challah that tastes great! This makes me want to try more breads that incorporate twists and turns!
I’m so glad to hear you liked it and the pictures helped, Debbie! And I’m glad it’s encouraging you to try new breads with twists and turns. Enjoy!
370g of flour seems to be a bit high for the ratio of dry to wet ingredients. The first time I mixed it, the dough turned into wet sand. I started over and added maybe 2/3 what the recipe calls for, mixing just until combined and tacky. Hope the rest of it turns out well.
I was a first time challah baker from scratch when I attempted this recipe, had also never made any kind of bread with dry active yeast before. It was easy to follow along and my challah came out perfectly! The crust and texture are amazing. 10/10 will make again
I’m so glad to hear it, Emma! We just made one for Rosh Hashanah and the two of us ate the whole thing on day 1… looking forward to making it again this week… Enjoy!
Hi. The recipe states a prep of 45, a cook time of 30 and a rest time of 60. But it calls for 2-60 min rises. So the summary is inaccurate.
Thanks for catching that, Larry! I’ll update it now.